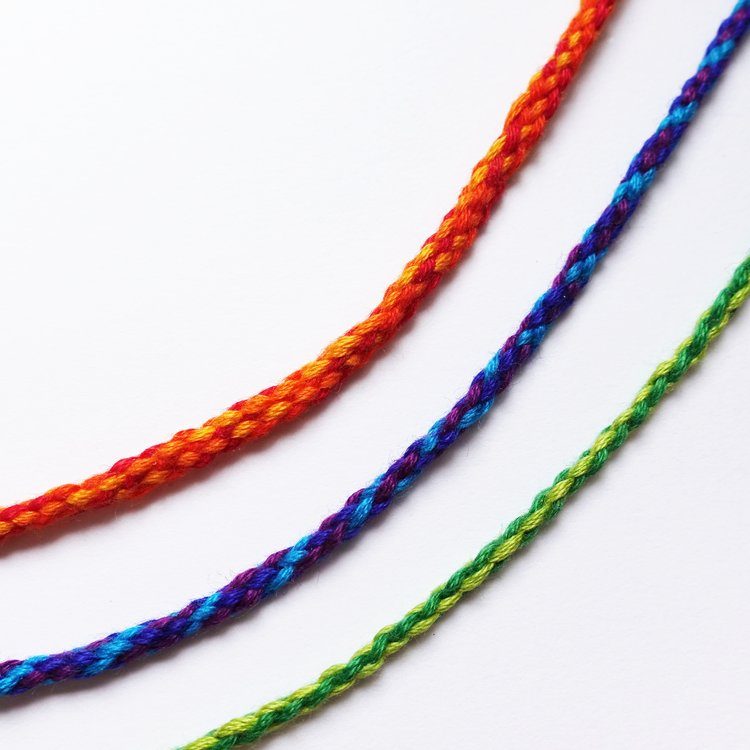
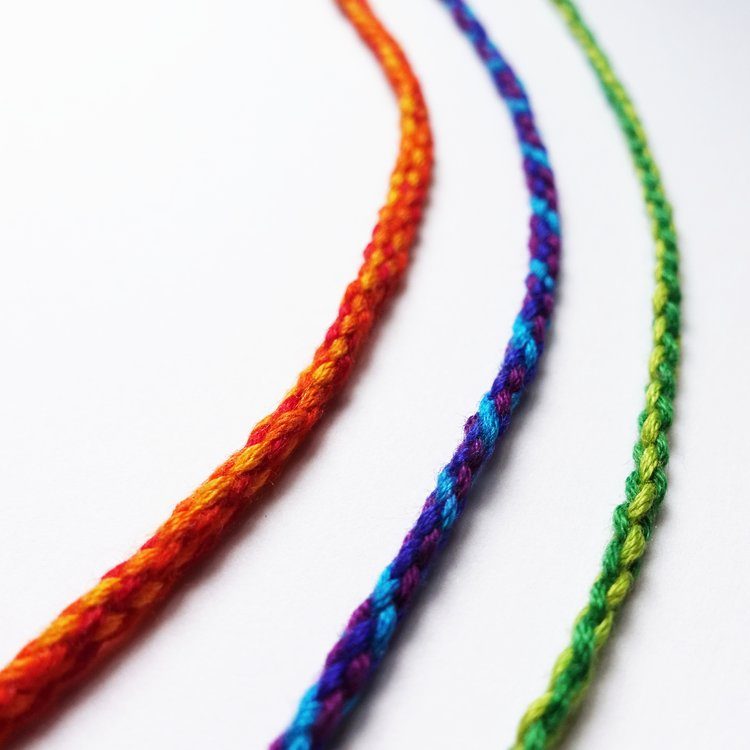
A kumihimo disk or marudai can be an amazing tool for making braids, but sometimes you want a nice, simple, round braid without bothering with special equipment. This post exists because I wanted to make a round braid out of cord that didn’t fit in the notches of my kumihimo disk, and I didn’t want to ramshackle together a temporary marudai for one project. Working on this also brought back a childhood memory – I had a bracelet from one of those capsule machines (knowing my mom, probably a reward for being good on a trip through Kmart) that eventually started falling apart. I was fascinated by the way it was woven together, and while I was working on the 8 strand version for this post, I realized that it’s made exactly how that bracelet was. So I solved a tiny mystery from my childhood, and figured out how to put together an upcoming project that I’ll share here!
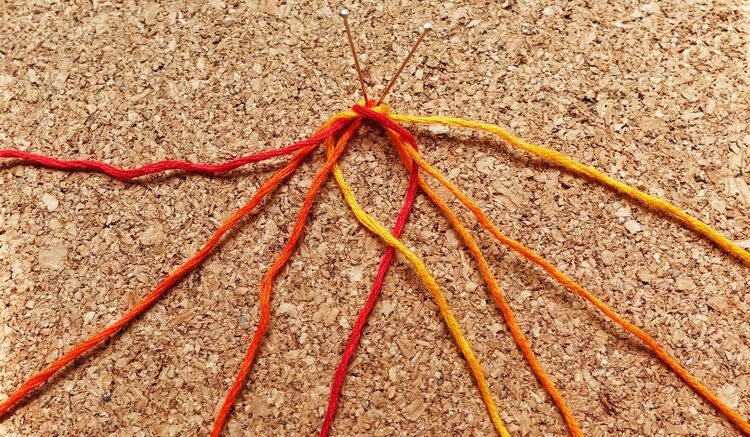
I started all of my braids using the method in this tutorial – Starting Braids with Very Small Knots.
They all seemed to use about the same amount of strand length, which surprised me. I made braids about 12 inches/30cm long, so it’s possible that thread usage would change with a longer braid, or with a different kind of string. Be sure to test your materials before starting on a large project.
Decide on your finished length, multiply by 1.3, then add 5 inches/12.5 cm for holding at the end while braiding. Be sure to double that if you’re folding your threads in half like I did.
The most difficult part of making these braids is managing your thread tension. I would work through the pattern repeat 2 to 3 times loosely, then adjust and tighten the threads carefully. Experiment with different methods to see what works best for you.
Because of the method used, the threads have no natural inclination to stay in order. You can see it in the pictures – strands tending to pull into the wrong gap up close to the tightened braid. With a little practice you’ll know what’s going to give you trouble. When tightening/adjusting your braid, or stepping away for a while, be sure the strands are held down in the right order.
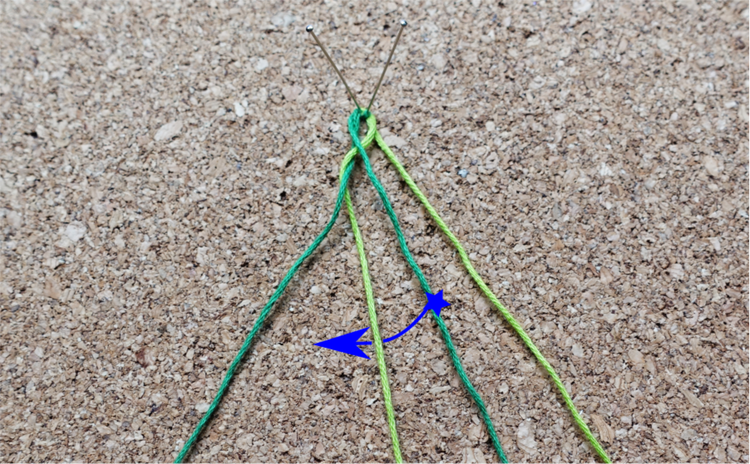
4 Strand Braid

Start with your strands laid out flat as shown. Take the strand on the right over to the gap between the two on the left.

Then take that same strand under the strand just to the right of it.

Now take the strand on the left to the gap on the right.
And then under the strand just to the left.
Repeat that pattern over and over until you reach your desired length.


6 Strand Braid
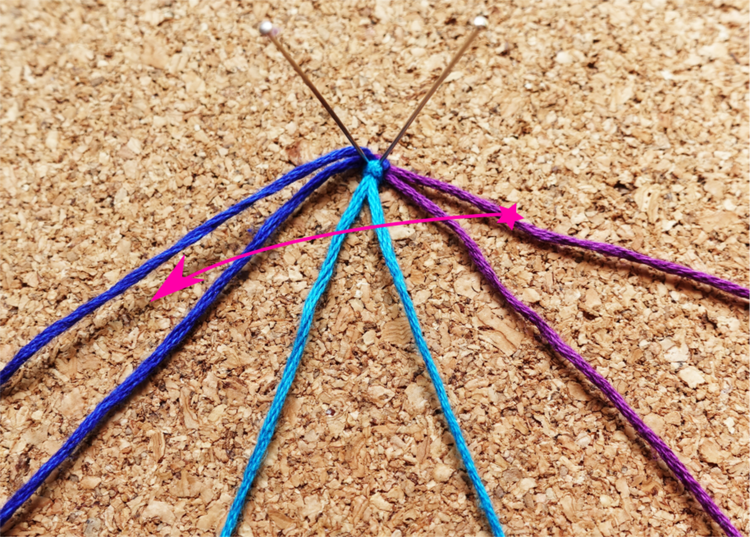
Start with the strand on the right, and bring it to the last gap on the left.

Then take it under the strand to the right, and over the next strand.

Now bring the strand on the left to the gap on the right.
And take it under, then over, the strands on it’s left.
Repeat those steps until you reach your desired length.

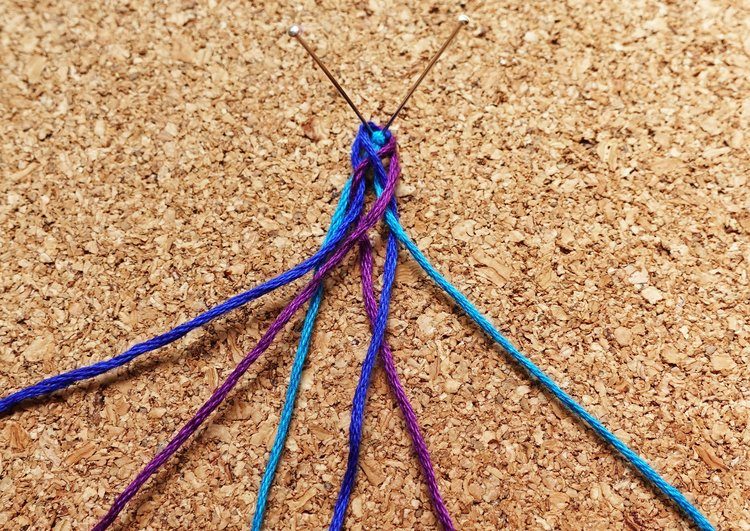


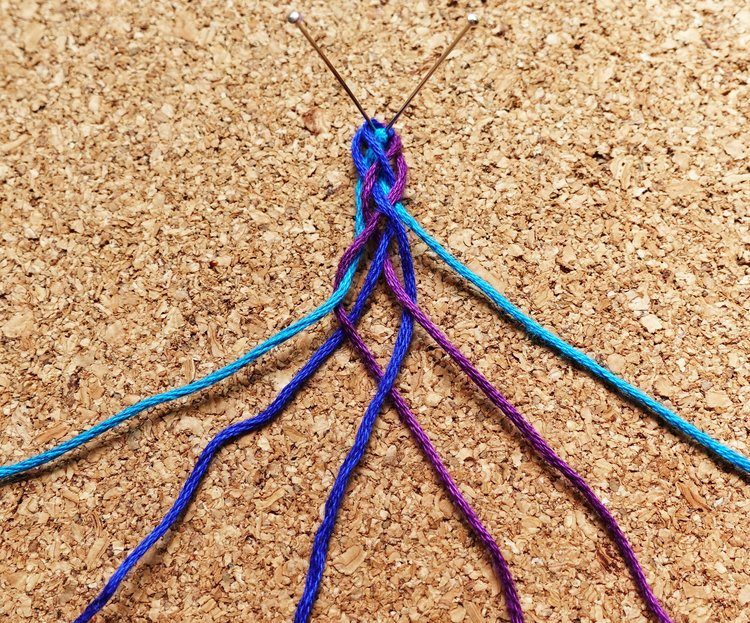
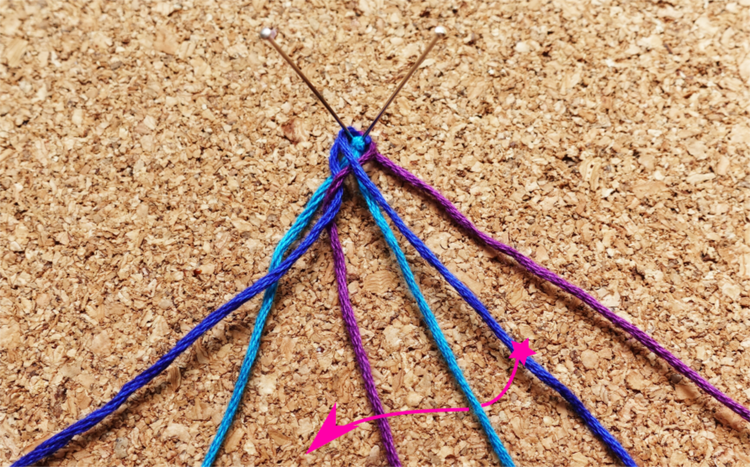
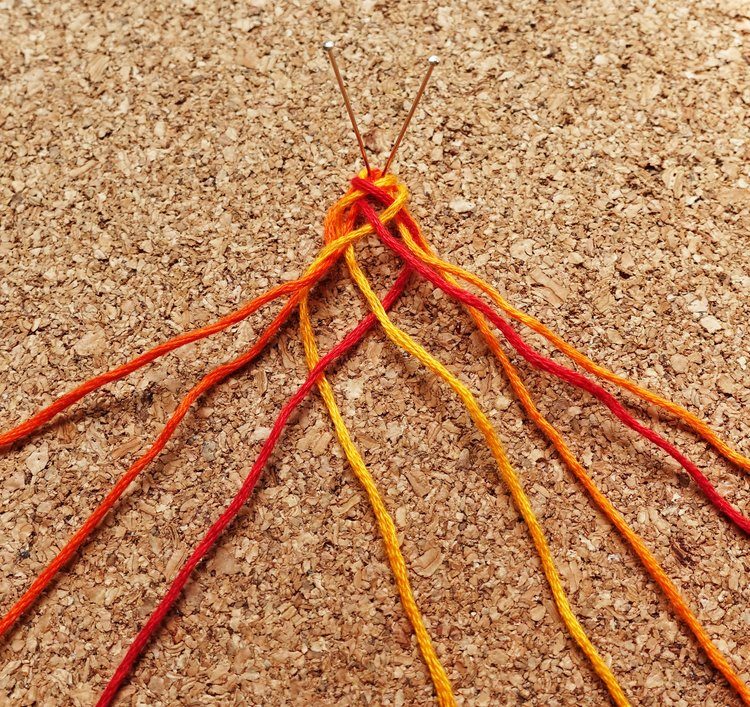
8 Strand Braid

Start with the strand on the far right, and bring it to the last gap on the left.

Then take it under, over, under the three strand to it’s right.

Now bring the strand on the far left to the last gap on the right.
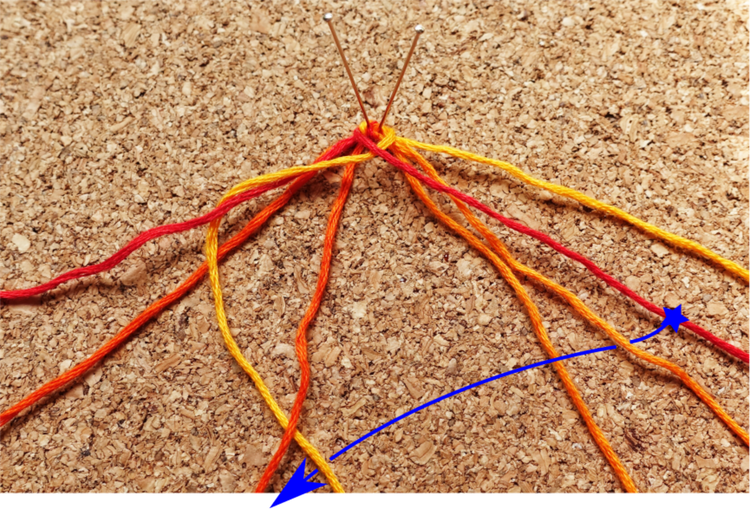
And take it under, over, under the strands on it’s left.
Keep repeating those steps until you reach your desired length.


If you look at these 3 braids you can extrapolate out how to do the same with more strands – just more under, over, under, over to reach the center. It gets harder and harder to manage the tension, though, so if it’s possible to switch to a kumihimo disk that would probably be easier. A method like our Spiral Braids tutorial would be a good option.