Grafting knitting onto another piece of knitting is a nearly seamless way to add features like pockets or collars. And, the technique is very easy.
Supplies:
Knitting Project
Crochet Thread
Tapestry Needle
Sewing or Knitting Pins

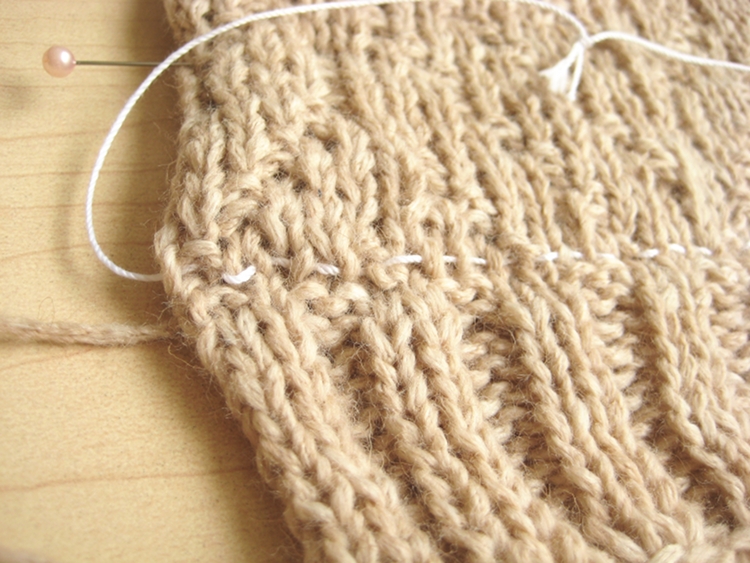
In the example project, I’m attaching a pocket to the front of a cardigan in progress. The front of the cardigan is complete. The pocket was knitted with a provisional cast on to hold the first row or stitches open. The last row of knitting was transferred onto crochet thread using a tapestry needle.


Use pins (sewing or knitting) to set the pieces you are attaching to the backing knit. If you are attaching a pair of things, like the pockets on a cardigan, lay out both pieces and make sure the are positioned evenly.

Using a tapestry needle with matching yarn, you will sew the stitches onto the backing knit. Begin with yarn on the top side of the backing knit.

Sew through one of the stitches that is held on the crochet thread. Sew from the underside of the additional piece to the top side.

Sew through one knitting stitch just below the previous stitch.

Repeat! Continue working along the crochet thread going through each stitch on the thread and sewing through one stitch at a time on the backing knit.
Work all the way across the piece. Be sure you grab every single stitch on the crochet thread. If you don’t, the knitting will run once the crochet thread holder is removed.
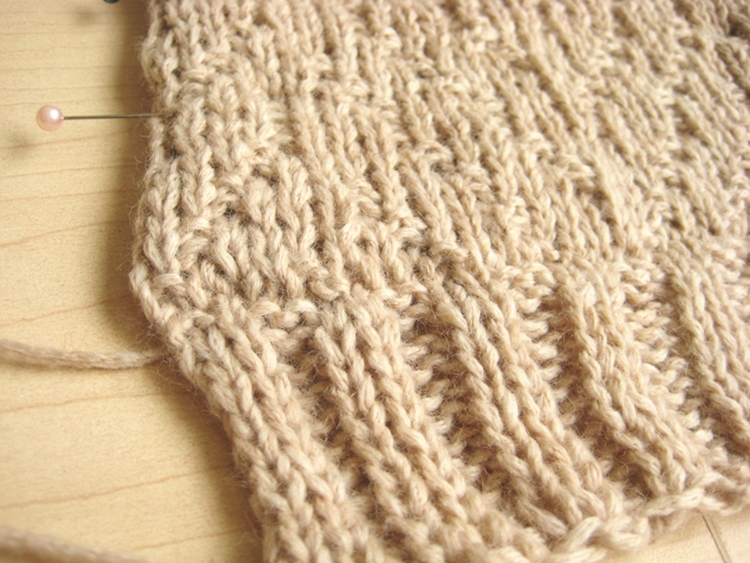
Remove the crochet thread and the seam is nearly invisible!
Grafting can be used to seamlessly add pockets, collars, lacy trims, etc to knitting projects.
-Carly | Antibromide