Garlands are one of those fun decorations that add a little extra sparkle to a party. This paper garland is made from cardstock in bright colors – it’s sturdy enough to last year after year, but inexpensive and quick enough to be disposable in case of a spill-prone guest or an overly excited hunting house cat. (I really saw that once – I was at a birthday party for two cats and they destroyed their own decorations. It’s your party and you can vault onto the mantle and untie your banner if you want to I guess.) It would also be totally reasonable to hand the stringing part of this project over to an older kid who is safe with a needle.


Supplies:
– cardstock – my 5 sheets of 8.5×11 | A4 paper made about 6 feet | 2 meters of garland
– crochet thread or similar lightweight string
– a needle with a sharp point and an eye large enough for your string
– cutting mat
– utility knife
– clear rule (it doesn’t have to be clear, but it’s easier if it is)
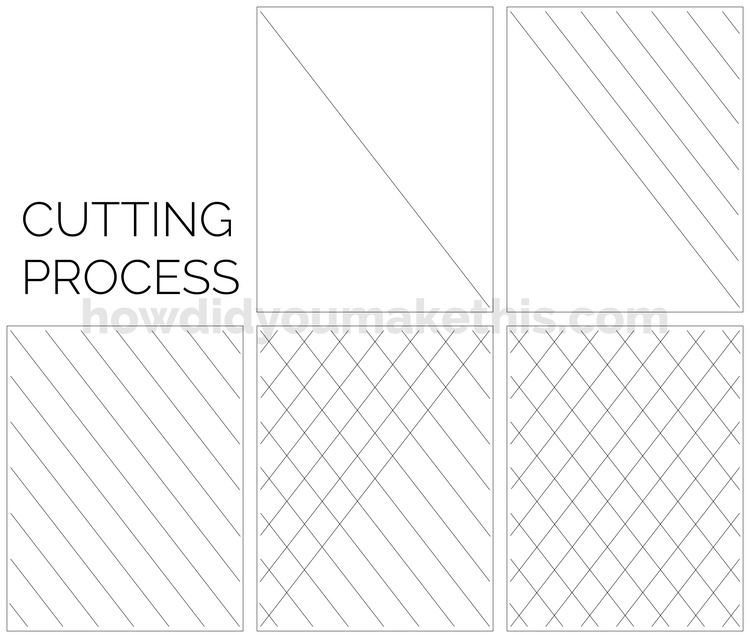

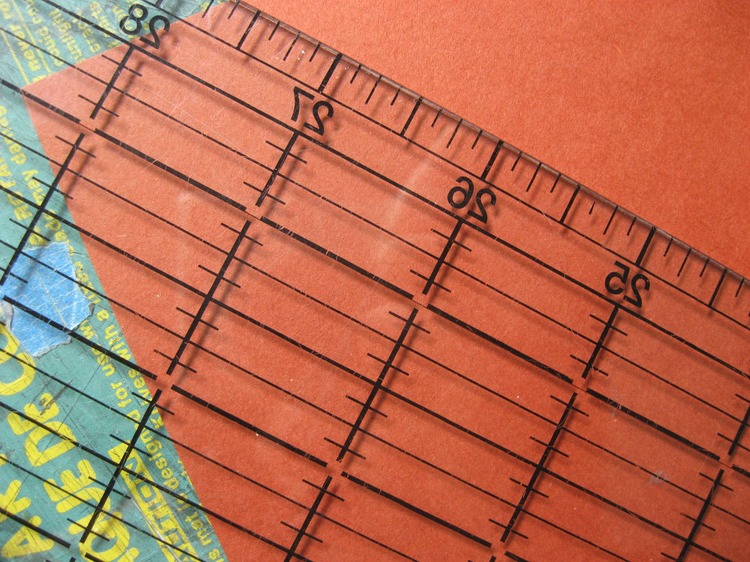
Whether you’re using US Letter or A4 the process is the same. Align your ruler corner to corner on one diagonal.

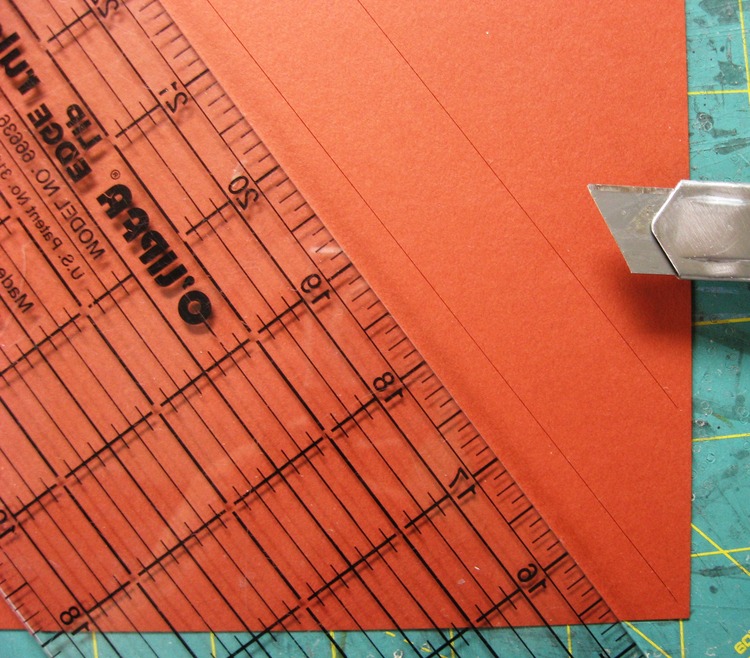
Cut the length of the paper, but not all the way to the ends. Leave a bit of paper uncut.
Slide the rule over 1 inch | 2.5cm and cut, again being sure not to cut off the ends. This is where the clear ruler comes in handy.

Repeat this in both directions until the paper is even slashed from end to end.
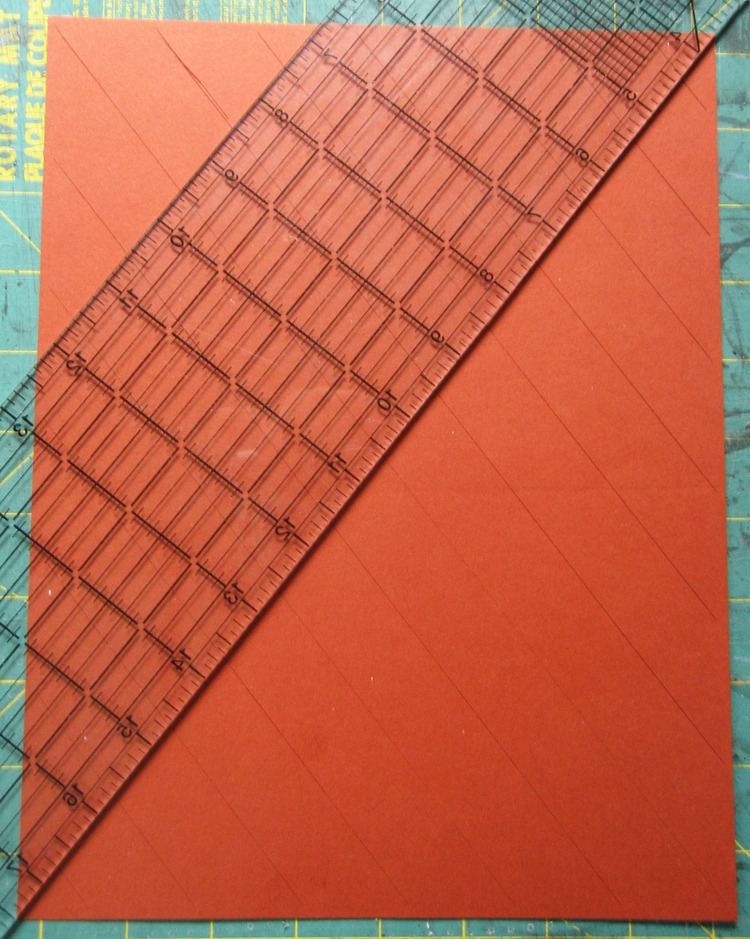
Now do the same, but on the other diagonal.
Lift the ruler, don’t slide it.
Cut carefully, holding the ruler down tightly to keep the strips from sliding around.
If possible, turn your cutting mat instead of your paper when you turn the sheet around to cut the second half of it.
Remember, you’re making fluffy leaves on a pretty garland, a few wobbles won’t show at all when you’re done.


Repeat that for as many sheets as you want to use.

When I was planning this project I was originally expecting to make the garland this way, by stitching three times down the center of each diamond. I ended up preferring the leafy look, but this is here in case you like it better.
Crease each diamond about 1/3 of the way down the long direction.

Might as well do them all before you start stringing.

Put the needle on the thread and start stringing as shown.

Make sure you vary the direction of the leaves (but you don’t have to alternate.)

Keep sliding them down the string until all your leaves are strung. I just cut the thread with plenty of extra length, but you can tie some knots by the leaves if you’re worried they’ll slide off.

