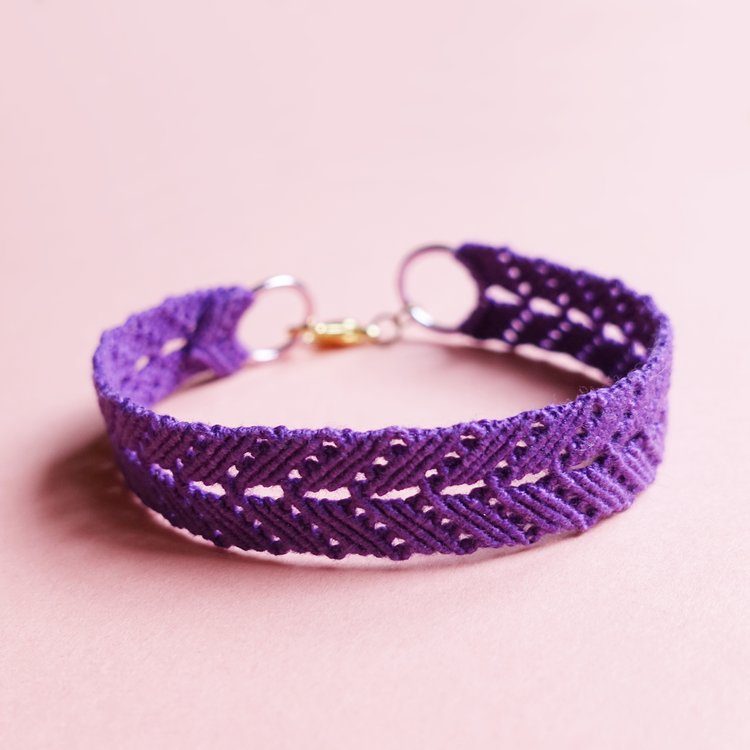
A lot of macrame projects look heavy – made with thick yarns and dense knotting patterns. Macrame can also be used to create light and lacy looks, like in this bracelet. This openwork macrame style is delicate, pretty, and faster to knot than a more dense pattern would be.

Decide how long you’d like your bracelet to be (in inches or centimeters). Multiply your finished length by 11, then add 12 inches or 30 cm to that number. Cut 8 strands this length.

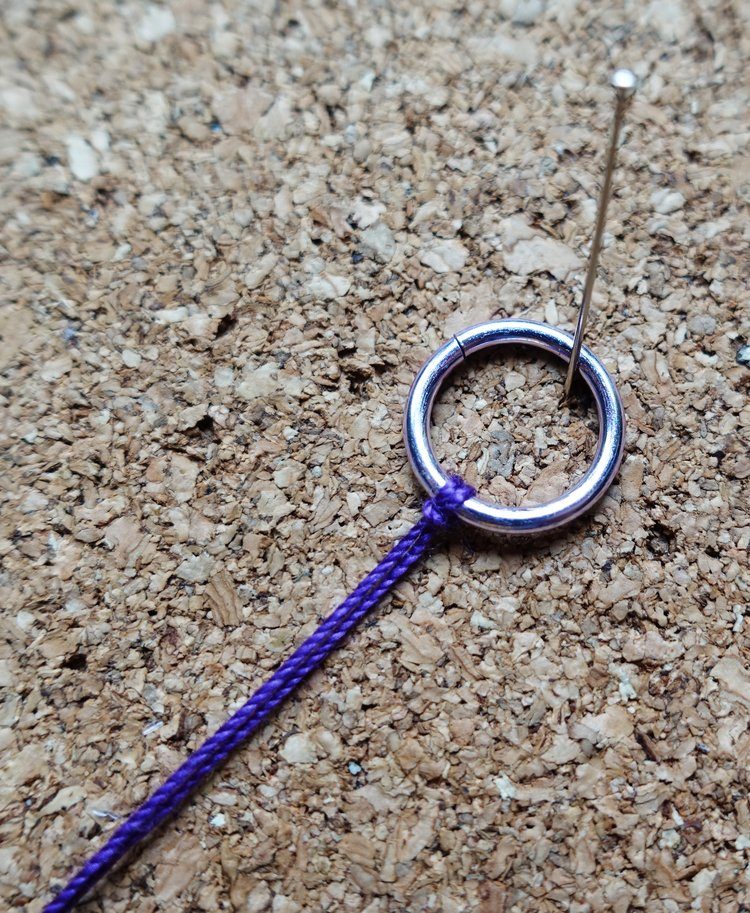
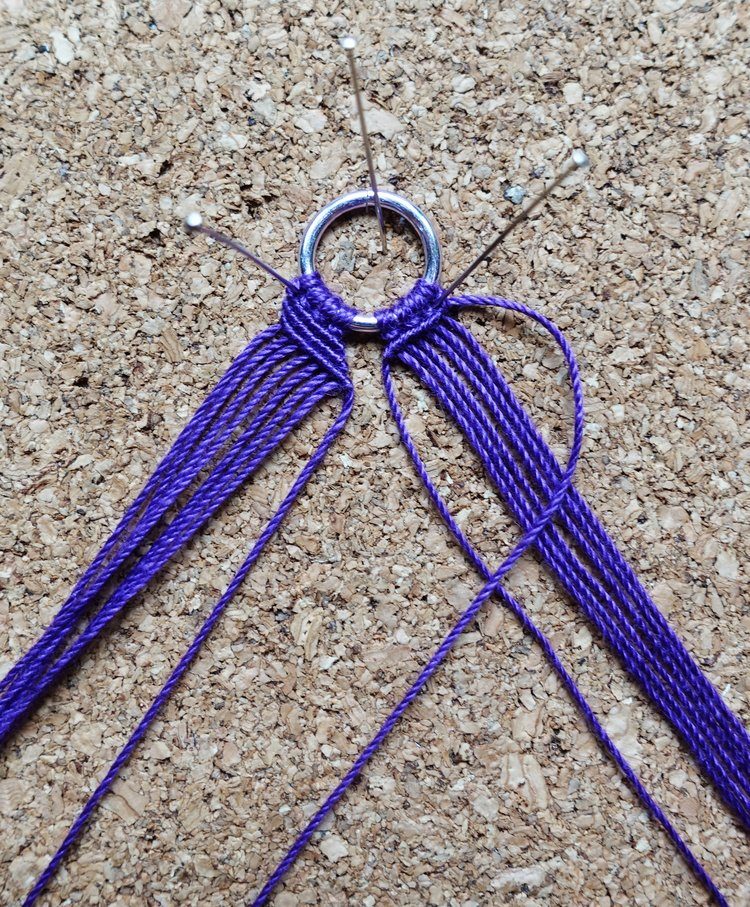
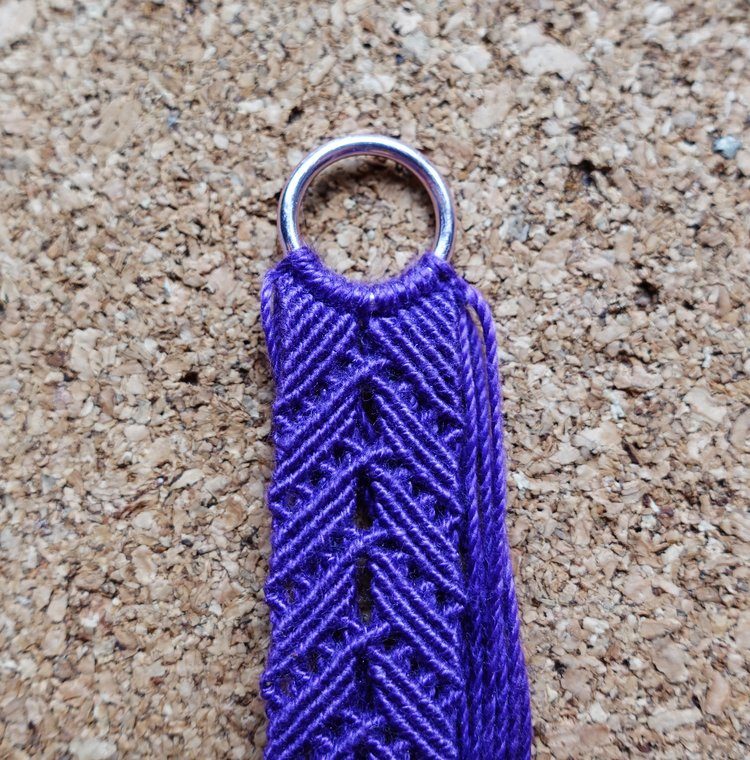
Pin one of the large rings down for resistance. Fold a strand in half, and make a lark’s head knot as shown.
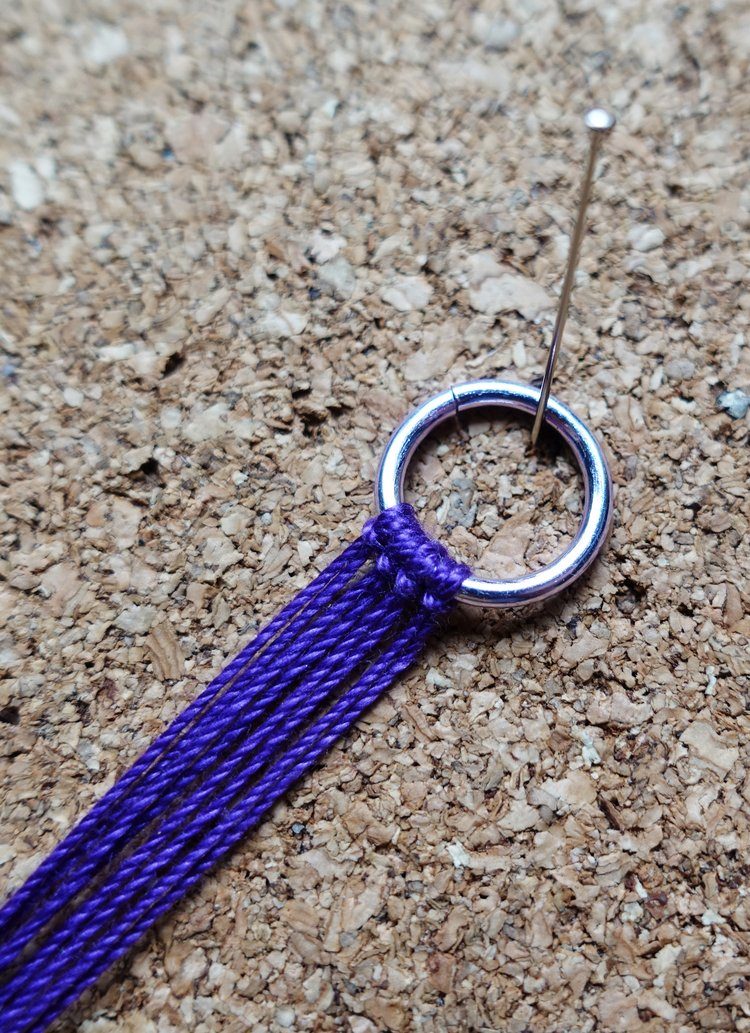
Do that three more times (for now.)

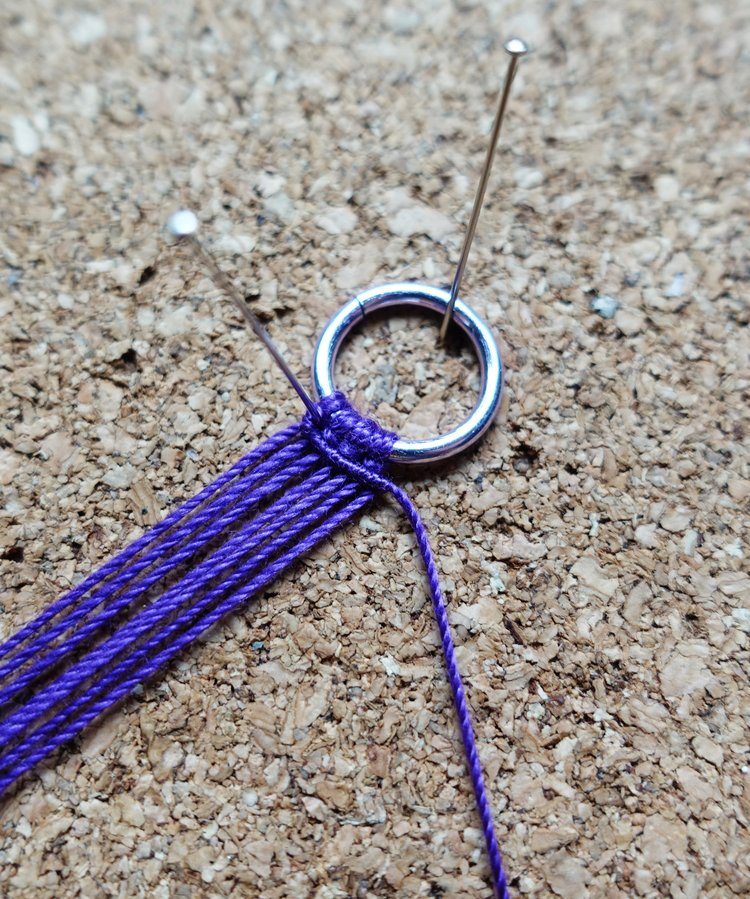
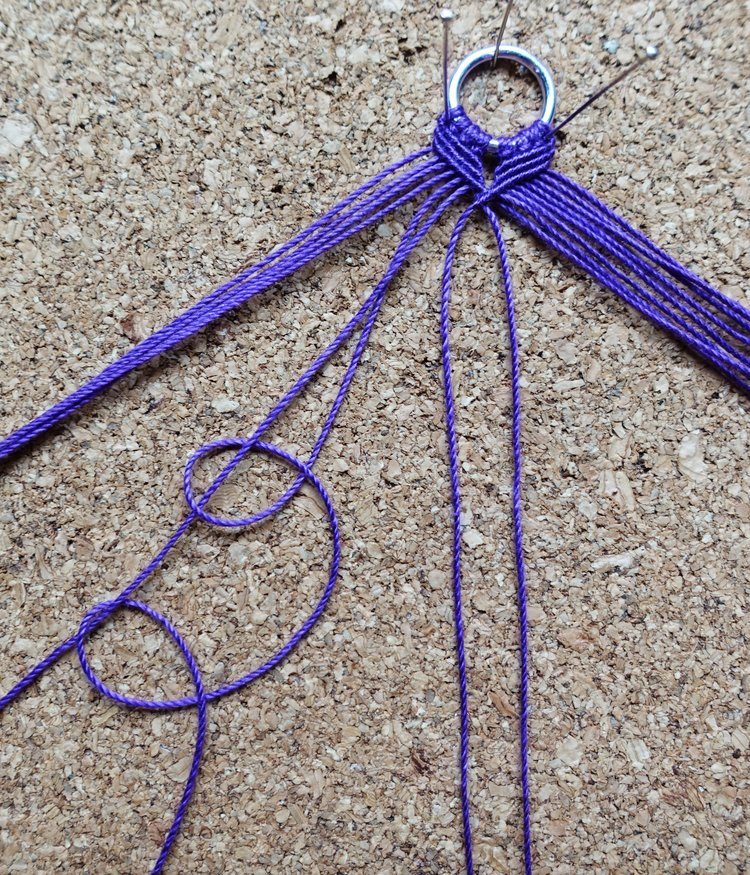
Bring the strand at the furthest left across the rest, and tie a double half hitch knot around it with the strand next to it.

Tie double half hitches with the remaining strands.
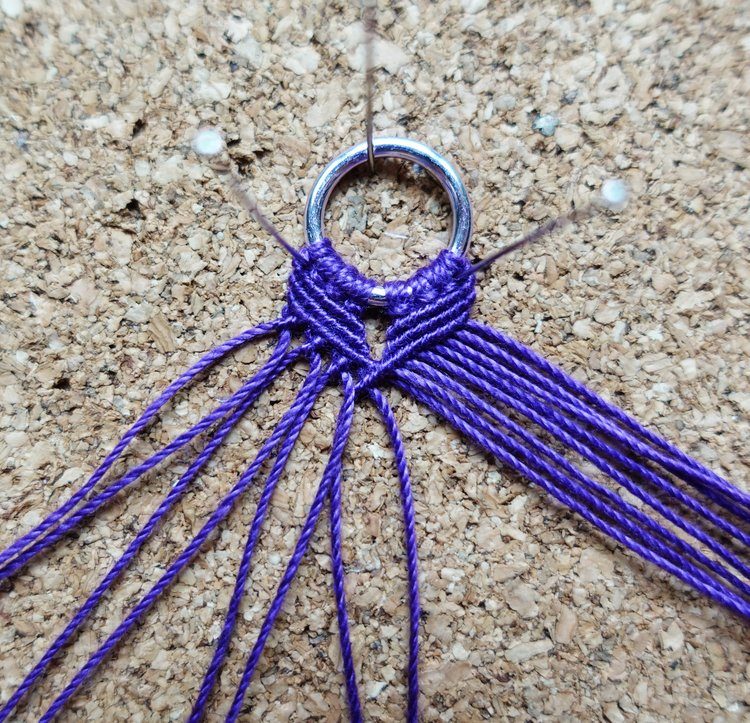
It should look like this after the first row.

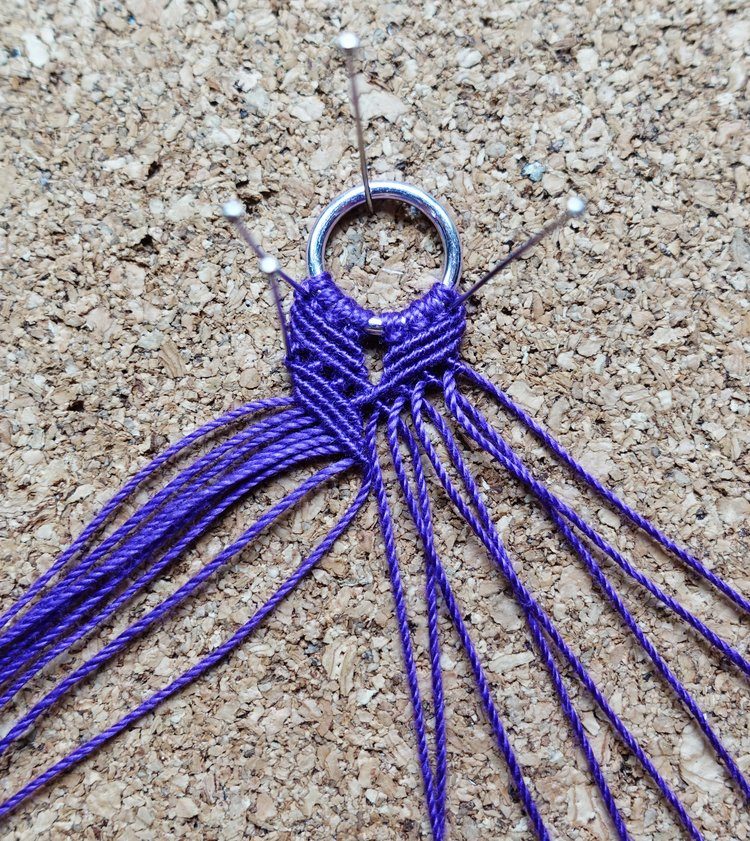
Bring the left side strand across again, and tie another row of double half hitch knots.

Do that one more time and you should have three rows, just like this.

Now repeat the same thing on the right, but opposite. Bring the farthest right strand across.
Again, tie three rows of double half hitch knots.

At the end of the third row, tie around the right side strand with the strand closest to the center on the left. This will join the two sides of the work.

On the left hand side, starting the the two strands closest to the center, tie a double half hitch. Use the strand on the left to tie around the strand on the right as shown. This will be at a 90˚ angle to the rows already worked. The strands will trade places.
Do the same thing with the two strands to the left of what you just tied, and then with each pair until you reach the edge.
You should have 4 knots as shown.

Now bring that farthest left strand across and tie double half hitches like you did in the first three rows. Be careful to keep the strands in order. Placing a pin at the corner will help keep the work even.

When that row is tied, do two more rows as before.

On the right side, tie a double half hitch with the two strands closest to the center.

Do the same with the remaining three pairs.
The row should look like this when all 4 pairs have been tied.

Place a pin at the corner, and do three full rows of double half hitch.

At the end of the third row tie around the center right strand with the center left strand to join the sides.
Repeat this motif – one row of paired double half hitches, 3 rows of standard, and joining at the center – until you’re one large ring short of your desired length.
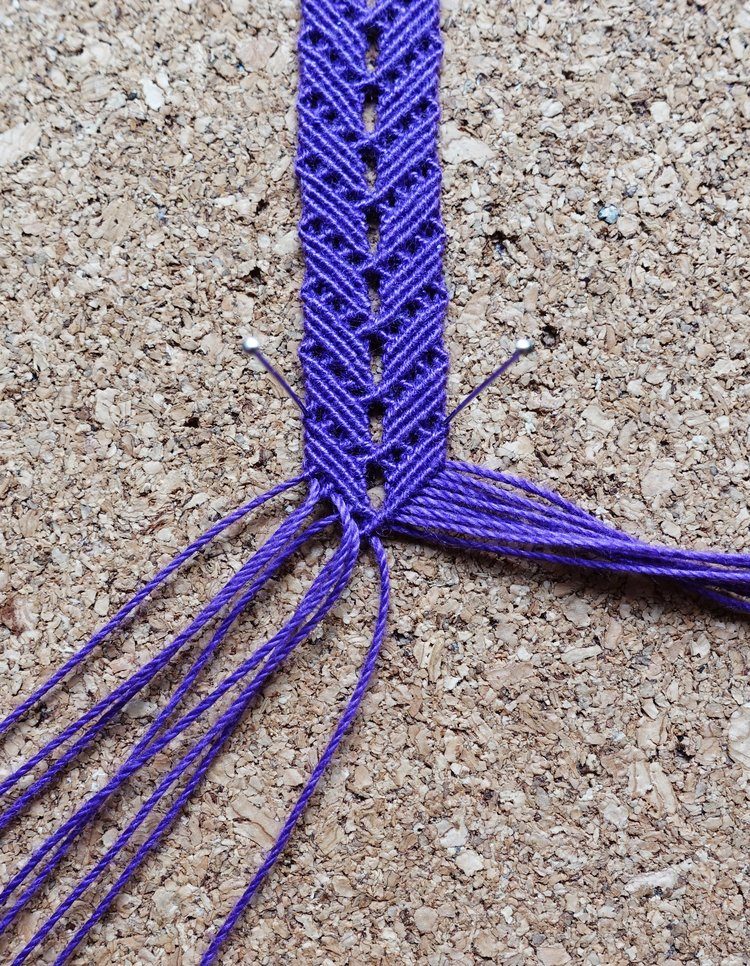
Do a row of the paired half hitches.

Bring the left side strand across and tie around it. Don’t let it rejoin the other strands.

Bring the next strand across and tie around it with all but the first strand. Don’t let it rejoin the other strands.

Tie around each strand until you’re down to one strand doing the tying.
The left side is done for now.

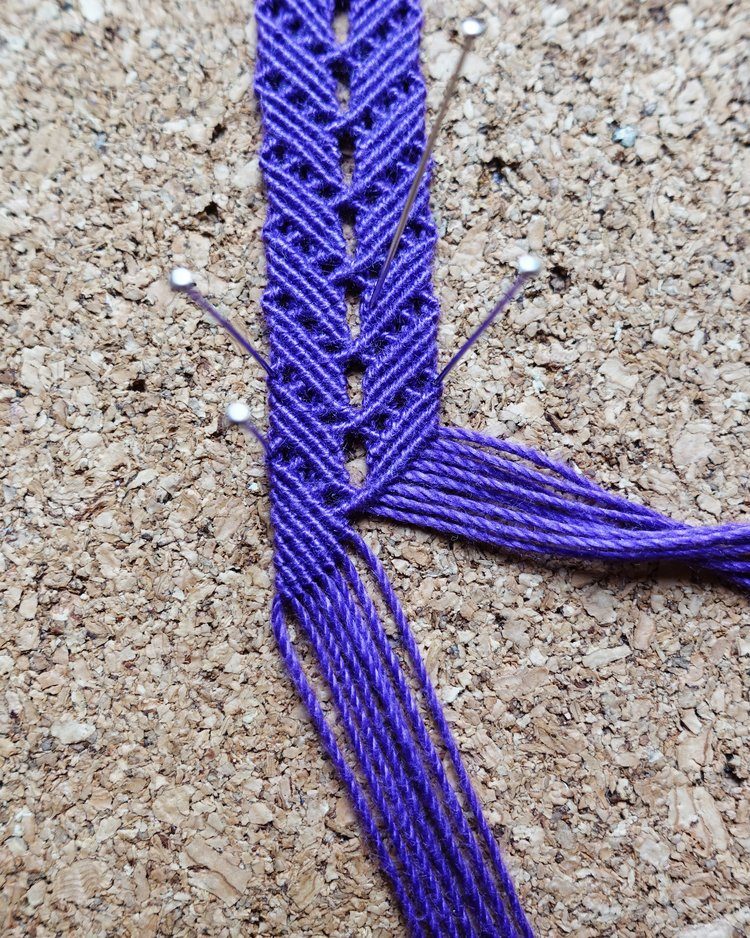
Repeat the same thing on the right – a row of paired double half hitches, then bring the right side strand across and knot around it.

Tie around each strand without letting it rejoin the other strands until you’re down to one strand on this side.
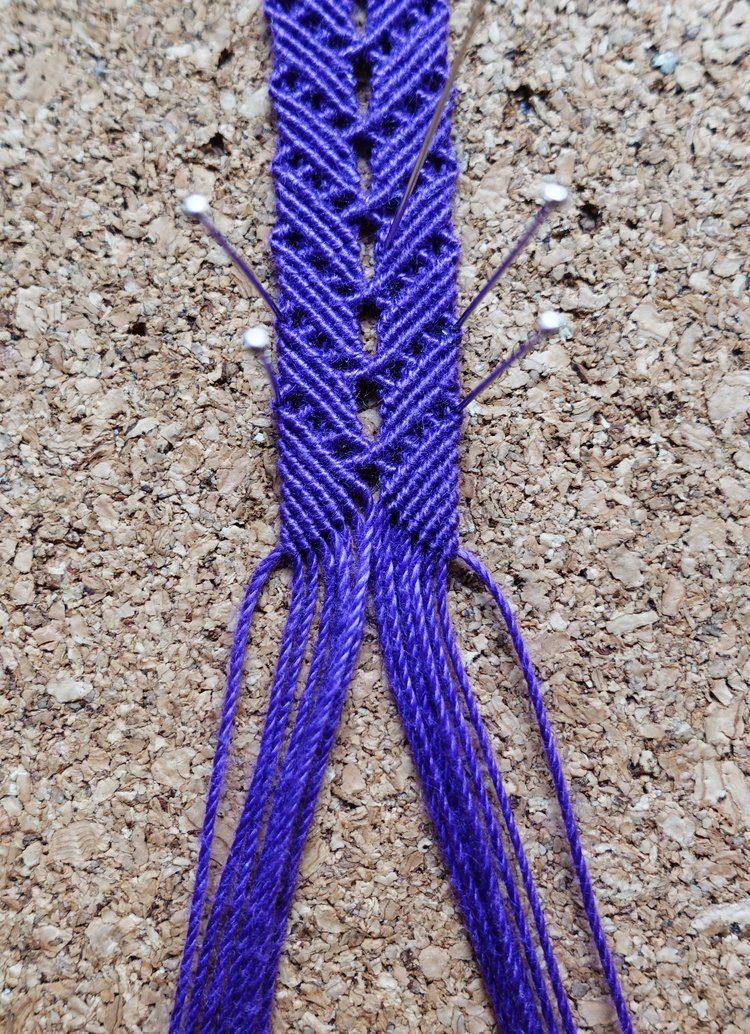
It should look like this. Now it’s time to add the ring.

Flip the work vertically. Slide the two left-most strands through the ring.
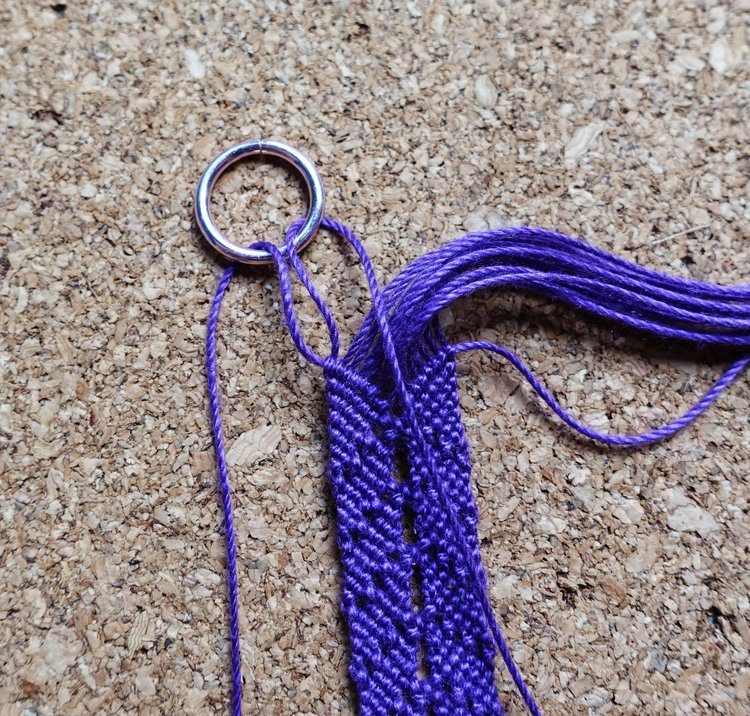
Bring the strands around as shown.

Tie a square knot with the two strands, making sure the ring is tight to the rows of double half hitch.

Bring the next strand through as shown.

Then bring the 4th strand though the ring.

Tie a square knot with this pair of strands.

Keep repeating that with each pair of strands until all are tied.
It should look like this on the front.

Tie a row of double half hitches on the left. Try to pull the strands toward the center so they don’t hang over the edge and show on the front.

Let the strand from the left join the strands on the right. Tie a row of double half hitches on the right side.

Do one more left and one more right side row.

When it looks like this apply a coat of fray check or clear fabric glue to the two rows of knots, and let it dry completely. Then trim the extra crochet thread very carefully.

This is the back finished.

This is the front finished.

Add a clasp and it’s ready to wear!

