In my last few posts, I have walked you through making a sewing pattern for your own custom fit sleep shorts, and I gave you a few tips about fabric structures and how to lay out your pattern pieces. Now, let’s sew it all together because you can never have too many pretty things to wear!
P.S. Info about the bra top is coming soon.
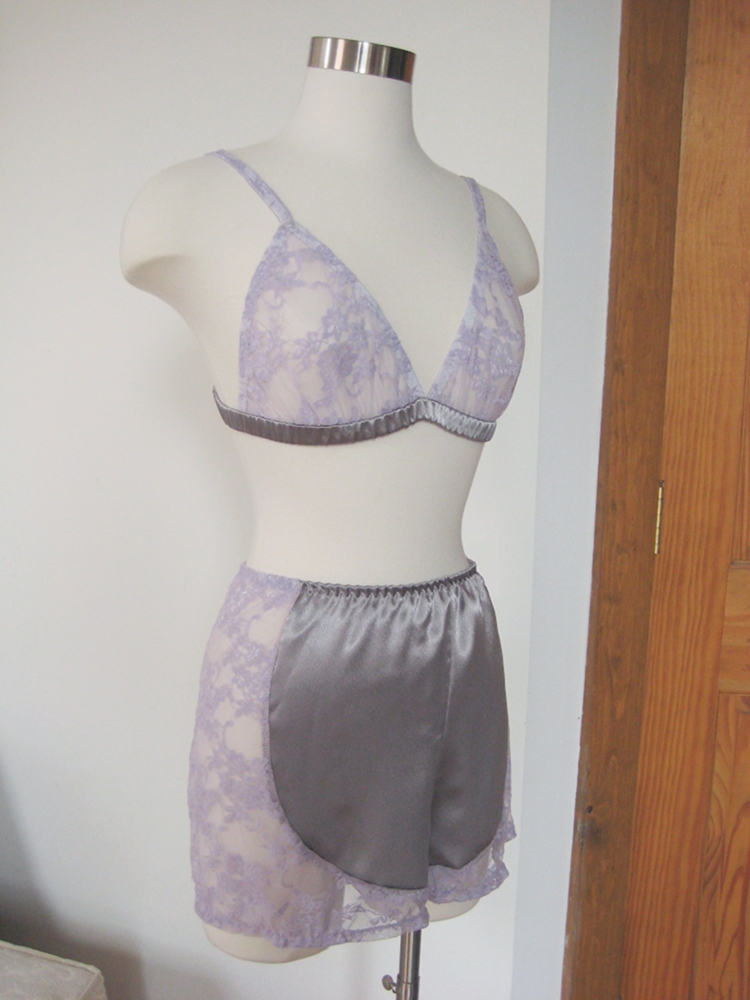
These are the fabrics I used for my satin and lace shorts. The purple lace is a stretch sheet lace and the gray is basic satin.

Step 1)
Prepare your pattern by cutting it from paper.

Step 2)
Cut out your fabric. The side panels for this pattern were designed to be cut from stretch lace. When laying out anything that that requires stretch, make sure you test the fabric to determine the direction of stretch before cutting. Unless there is a specific and unique reason, the stretch of the fabric should go around your body (not head to toe).

Step 3)
This pattern required a bit of special attention during construction because the front and back are very close to being symetrical and therefore hard to tell apart at casual glance. To reduce possible confusion, I began by sewing just the back panels to the side lace panels (right sides together).
I used my serger for this step. If you don’t have a serger, sew a basic seam and then follow with an over the edge seam finish. You are sewing with a stretch fabric so you should use a ball-point sewing machine needle.
Positioned the fabric so the stretch lace will be fed through the machine by the feed dogs. This reduces the amount the lace would stretch in relation to the woven satin.


Step 4)
And then I sewed the front panels to the lace sides, right sides together.

Step 5)
Sew the inseams on both pieces right sides together.

Step 6)
Sew the crotch seam – right sides together.


Step 7)
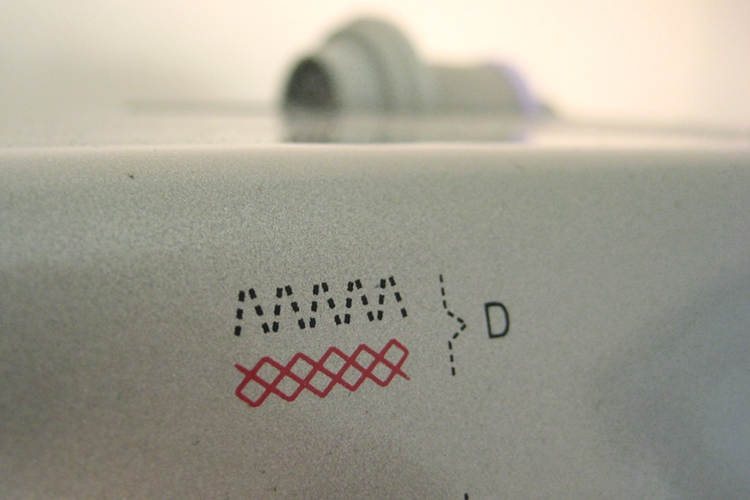
Hem the leg openings. The leg opening is made entirely of stretch lace. You should use a stitch that allows for the fabric to stretch while wearing when you sew the hem. In situations like this, I use a 3-step zig-zag stitch.

Step 8)
Cut a piece of elastic for the waist of the shorts. These are custom fit shorts so the easy way to determine what length the elastic should be is to wrap it around yourself. The elastic should be snug but comfortable. Before you cut the elastic, secure the cut end into a circle with a safety pin where you think you should cut it and slide it over your hips to make sure you will be able to pull the shorts on once the elastic is sewn in place. When you are happy with the length of the piece of elastic, cut the elastic and sew the ends together to make a circle of elastic.

Step 9)
Use pins to divide your elastic band into quarters. Find the quarters of your shorts (tip: center front and center back are two of them). Pin the elastic to the waist of the shorts at the quarter points.

Step 10)
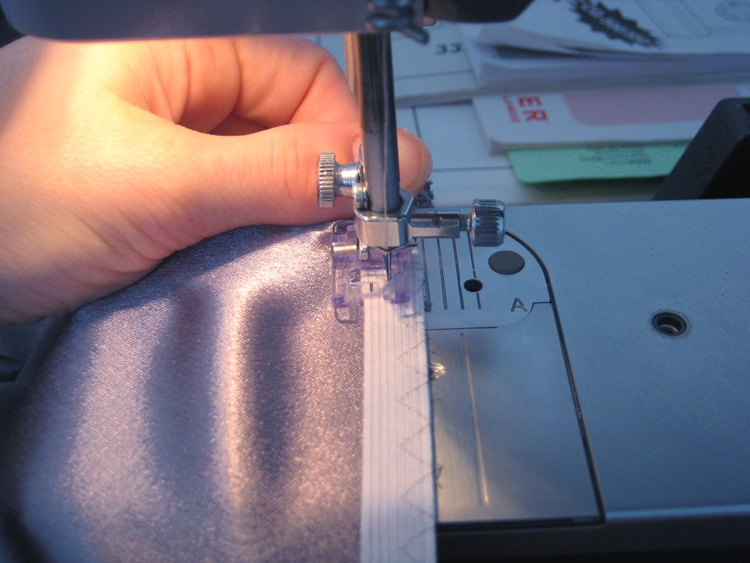
Sew the elastic into the waisband. The elastic should be placed on the right side of the fabric and one edge of the elastic should be placed along the cut edge of the shorts waistline. The elastic will be smaller in circumference than the shorts so as you sew you need to stretch the elastic. You will need to stretch the elastic between the points you pinned. Stretch the elastic just enough so the fabric is flat below the elastic while you sew. When sewing with stretchy fabrics (like the sheet stretch lace side panels on these shorts) it is important to not stretch the fabric and only stretch the elastic while you sew. I used the 3-step zig-zag again for this part.
Step 11)
After you have sewn the elastic to the right side of the fabric, turn the elastic to the inside of the garment and run one more line of 3-step zig-zag to secure it. This is a very common way to attach the elastic to lingerie items and leaves a cute almost ruffled looking edge.

I’ll show you how to make the matching bra top soon!