This bracelet combines two rows of peyote stitch with a row of bezel set Swarovski crystals. The rectangular shape of the crystals works well with the structure of peyote. This subtle and sparkling bracelet is the perfect thing for an evening out.
I used the Create Your Style by Swarovski Elements App (Facebook | | web based version) to choose seed bead colors that went well with the crystals I was using.


Supplies:
– a few grams each of two different colors of 11/0 Delica/Cylinder seed beads
– bezel set Swarovski Crystals (I used 9)
– 2 beading needles and beading thread – this is OO Nymo
– jump rings and clasp
– scissors
– needle nose pliers
If you don’t know how to do peyote stitch you should check out the Beaded Rings project we posted previously to learn how it works!

Figure out how long you want your bracelet, and subtract the length of your clasp.
Make two strips of peyote this length – one of them 2 beads wide, the other 4 beads wide. Don’t end your threads.

Orient your strips so that the needles are at opposite ends.
Set out your crystals, decide how many you are using. Then count the number of beads on the edge and divide it out so that your crystals will be evenly spaced down the length of the bracelet.
I was using 9 crystals – that means 8 spaces between them, plus spaces at the ends. I divided the number of beads I had (90) by 9 spaces (10 beads per crystal) and split up one of the spaces so there was half of a space at each end (5 beads at each end.)
These crystals have 2 holes. Three beads aligned with the holes – stitch into one bead, skip one bead and stitch into the next bead. I centered the crystals over 3 beads, so my crystals are one bead closer to one end than the other.
Your bracelet will probably take different math than mine, so the important thing is to try to keep your spaces as even as possible OR not even at all.

The crystals are about 2 beads wide. Add 2 beads to finish the gap at one end of the bracelet.

Stitch back and forth through these beads and the peyote strips a few times – this will be a pressure point because the clasp will be attached here.

Stitch to where the first crystal should be.

Mine starts here.

Stitch through one end of the crystal.

Stitch into the other strip of peyote.

Work your way all the way to the far edge for security.

Work back to the bead aligned with the other hole.

Stitch through that hole and the bead on the other side. Again work all the way to the edge.

Work over to where the next crystal should be.

Stitch that in place the same way.

You’ll probably run out of thread before you reach the end of the row, so turn the bracelet around and do the same things from that end. Don’t forget to add a couple beads to close up the gap between the peyote strips.

When all of the crystals are in place weave in your thread tails and trim them neatly.


Hook a jump ring with a clasp to one end.

Add just a jump ring to the other end.
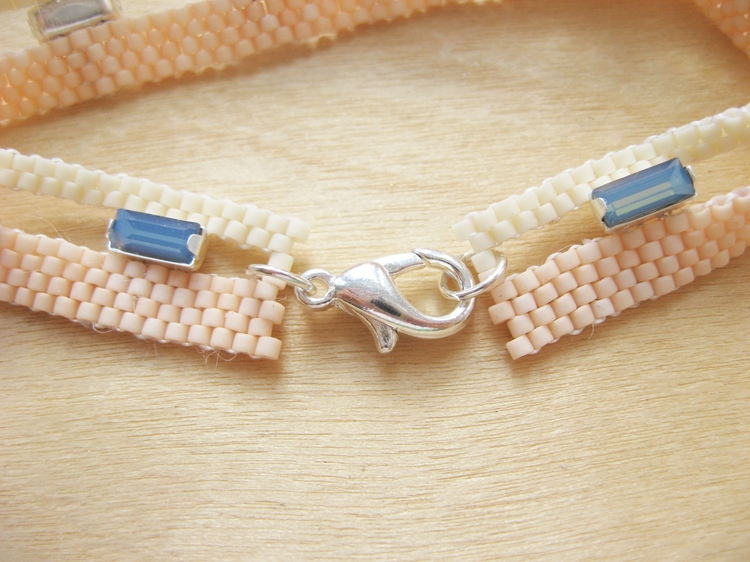
Your bracelet is ready to wear!

