It is easy to find many types of bird feathers available for crafting projects. The colors of bird feathers and the way they reflect light can’t be found in man-made materials. Feathers are a lovely addition to hair and a feather headband is an easy way to work the feathers into your look.

Supplies
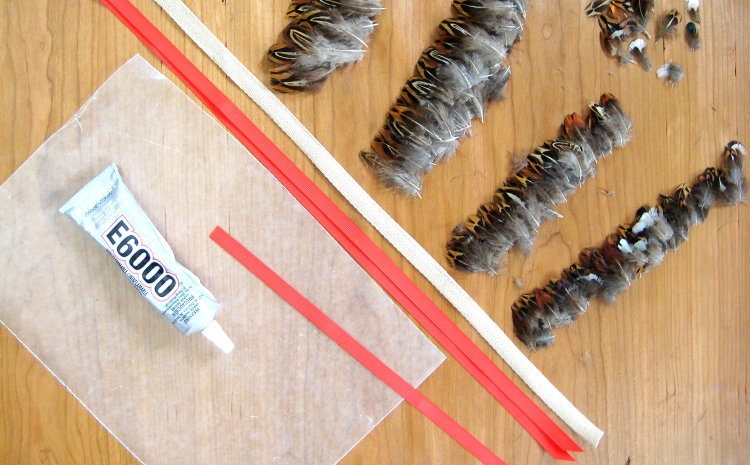
Cotton Twill Tape
Ribbon
Feathers
E6000 Glue
Toothpick (to spread the glue)
Scissors
Optional: Wax paper to work on top of
Optional: Fray check to finish the ribbon ends

Step 1) Sort the Feathers and Prepare the Backing
Sort the feathers by size and pull out any random pieces that you don’t want worked in. Once you get started and have glue on your hands you don’t want to have to dig through loose feathers to find the right size and color.

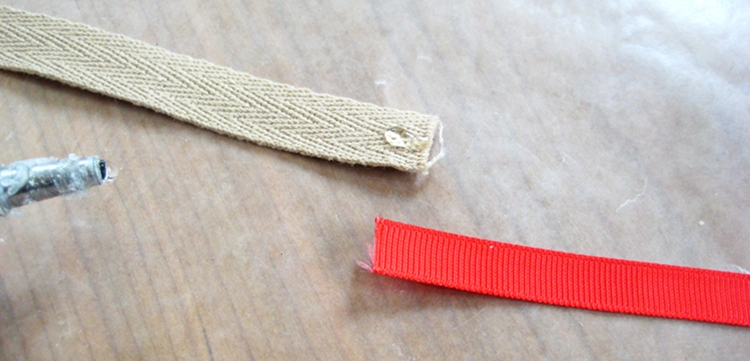
Cut a piece of cotton twill tape that is as long as you want the feather headband section to be. I simply wrapped the cotton twill tape around my head to determine how long I wanted the section to be. I decided to cover 19” in feathers. Cut 2 pieces of ribbon that will act as the tie closure. I cut them 19” each also. The tails are quite long but I like how it looks. The tails can be trimmed shorter later.
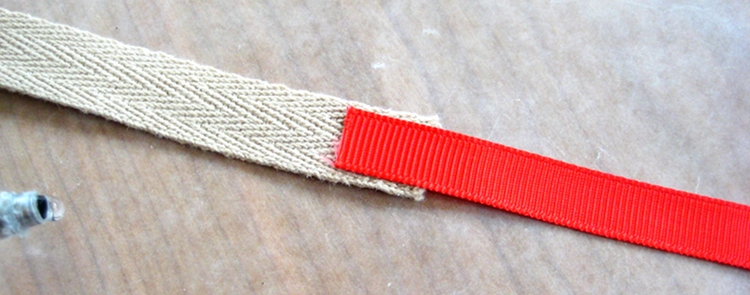
Step 2) Backing Assembly
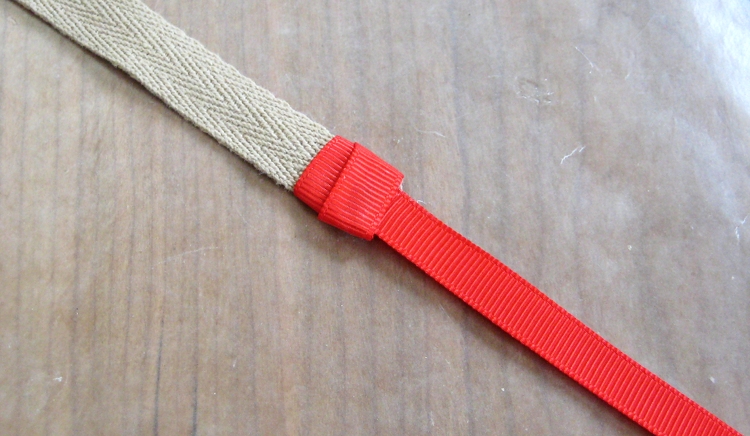
Glue the ribbon to the twill tape overlapping the edges by a small amount (¼”-⅜” or 6mm-1cm).

Cut a short piece of ribbon that can wrap around the twill tape a couple times to secure and conceal the ends of the ribbon and twill tape.
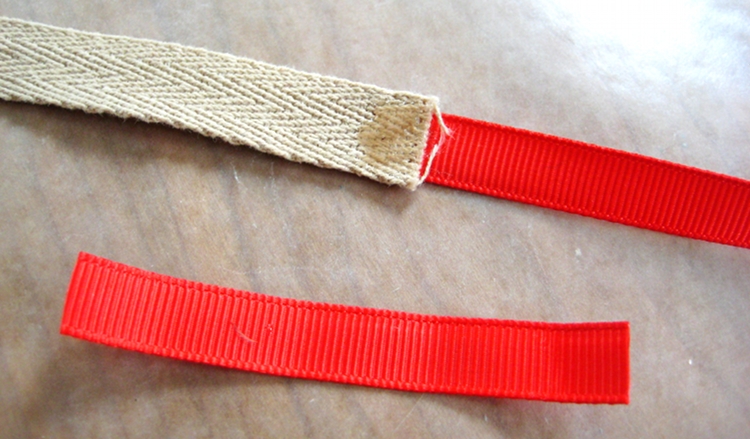
Glue the ribbon wrap in place.


Step 3) Applying the Feathers
Each feather needs to have glue applied to the back and then the feather needs to be set in place.

I used a toothpick to lightly apply glue to the back side of the feather. Don’t apply a lot of pressure to the feather as that can distort the feather and push glue through to the front side (and you don’t want either of those things).

Place the feather on the twill tape. Hold it in place until the glue is mostly set.

Do the same with the next feather. The overlap of the feathers is up to you and how you want the headband to look.

I pulled a variety of colors and patterns and alternated them for a diverse look. This is something that you can play around with to create patterns or simply use the same color patterns on all the feathers for that look.

Work the length of the twill tape.

Glue the ribbon in place as you did at the other end and stop adding feathers when they reach the end of the twill tape.

As with the other side wrap a short piece of ribbon around the ends of the ribbon and twill tape to finish the ends. On this side you will also include the end of the feather to give the headband a clean finish.

That’s it. Once the glue is completely set it is ready to wear.

-Carly | Antibromide