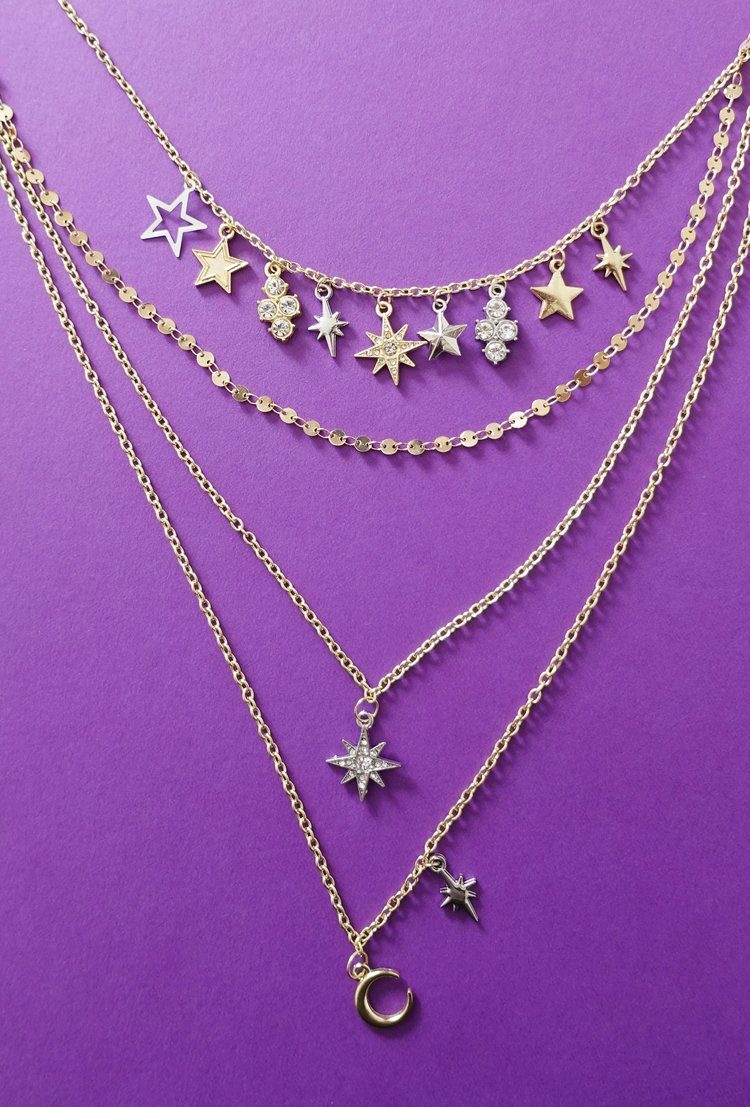
A really pretty trend happening now is layered charm necklaces. They’re a great way to mix an eclectic group of chains and charms into a dramatic wearable piece. In this charm necklace I’ve used two different styles of chain and a variety of gold and silver vintage style star and moon charms. Having all of the chains join to one clasp helps prevent tangling.
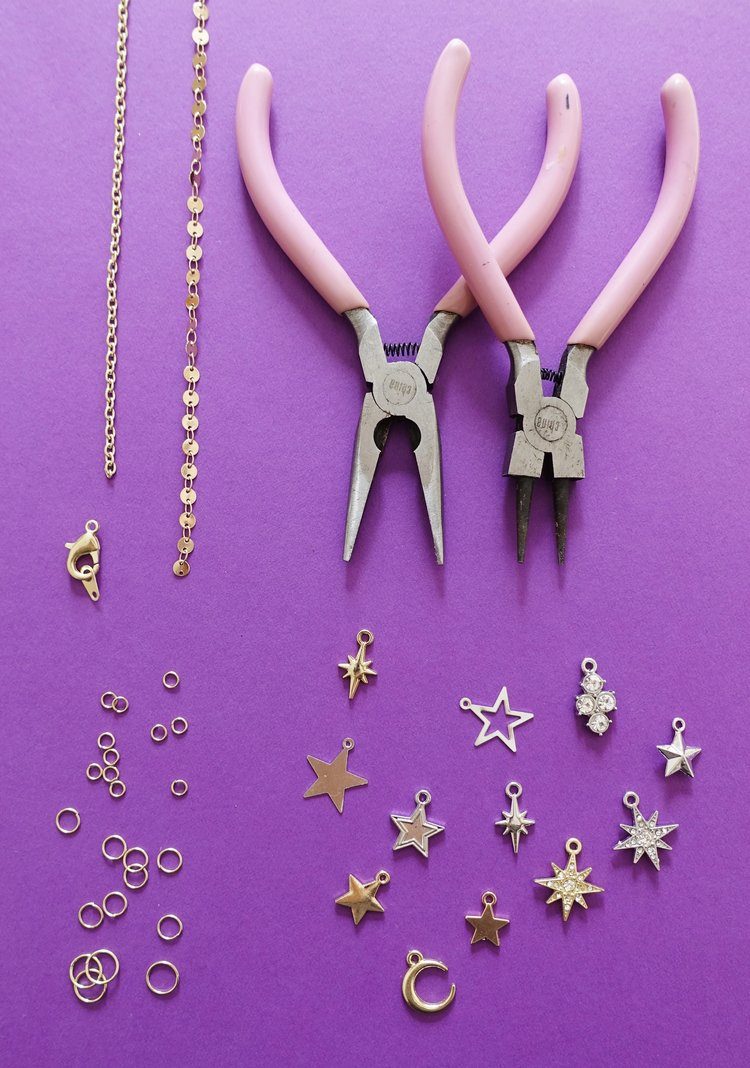
- chain
- clasp
- jump rings
- charms
- jewelry pliers (my needle nose pliers have a cutter, if yours don’t you’ll also want a pair of wire cutters)
- measuring tape

Spend some time in front of a mirror with a measuring tape to decide on the length of your chains. If you’re going to wear the necklace with something low cut, be sure to measure while wearing something low cut – a longer necklace lands really differently on a t-shirt. (I had to adjust this one because the lowest charm wedged inappropriately when I tried it on not over a shirt.) Be sure to take the clasp space into consideration – subtract the length of the clasp from the length of each chain. If you scroll down to adding the clasp you’ll see that it takes up quite a lot of length.
I made my chains 16, 19, 22, and 24 inches long, or 41, 48, 56, and 61cm.
If you’ve never used jump rings, you should have a look at this tutorial to see how to open and close them correctly.
You should, of course, choose a layout based on the charms you have. I’ll tell you what I did.

On the longest strand, I centered a moon charm, and added a small star a little to one side.

On the second longest chain I centered this very sparkly star charm.
The third chain was fancy, so I didn’t add any charms to it.

On the shortest chain I added lots of charms. I laid out a few in an order that I liked, then I attached the center charm in the center of the chain. After that, I counted links of chain to add my charms evenly – 5 links between each charm in my case. The biggest trick to to make sure they all hang the same way – carefully observe the structure of the chain so that you can select a ‘bottom’, and add all of your charms to the bottom edge of the chain.

After adding what was in the last picture, I decided to add another charm at each end. This photo does a reasonable job of showing how the charms all hang from the same side of the chain.

Line up the chains, and hook them all into one jump ring, and onto one side of the clasp. If your charms have a front and back, be sure to place the clasp on the side your dominant hand is on. (I placed my clasp so I could operate it with my right hand.)


This was the hardest part of the entire project for me. Line up your chains for the other clasp, but be sure that each chain is not twisted. I did this by untwisting one, hooking it to the jump ring, then untwisting the next. I don’t think there’s any substitute for patience to get through this part. You only have to do it once per necklace!

When everything is settled, the clasp side will look like this.

That’s all! You’re ready to sparkle your way through the day, and go hunting for charms to make another!