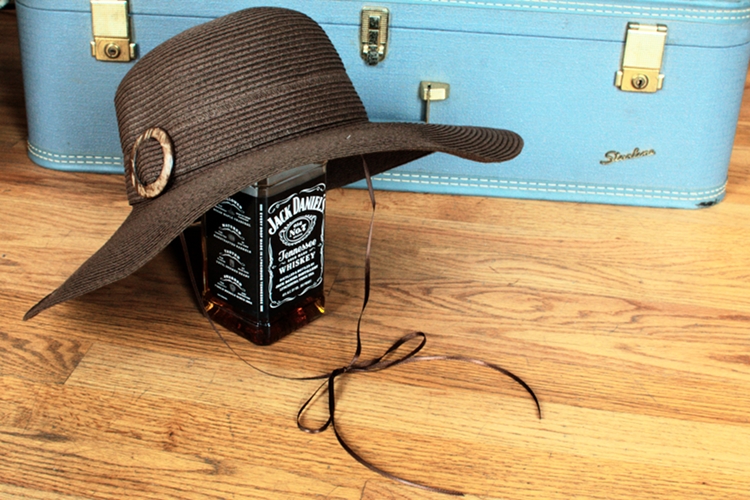
Next weekend the Redbull Flugtag contest takes flight on North Avenue Beach here in Chicago. In preparation for sitting outside for 4+ hours in full mid-day sunlight I purchased a nice big straw hat to protect my pale all-to-easily-sunburnt skin to make my viewing experience more enjoyable. Big straw hats may do a great job of keeping the sun off your face but they are also sails that catch every wind. My hat didn’t come with a strap to keep it on so I added a strap and here’s how I did it…
Supplies:
Hat
Ribbon or Cord
Pins
Thread
Hand Sewing Needle
Scissors
Ruler

Step 1) Determine Placement
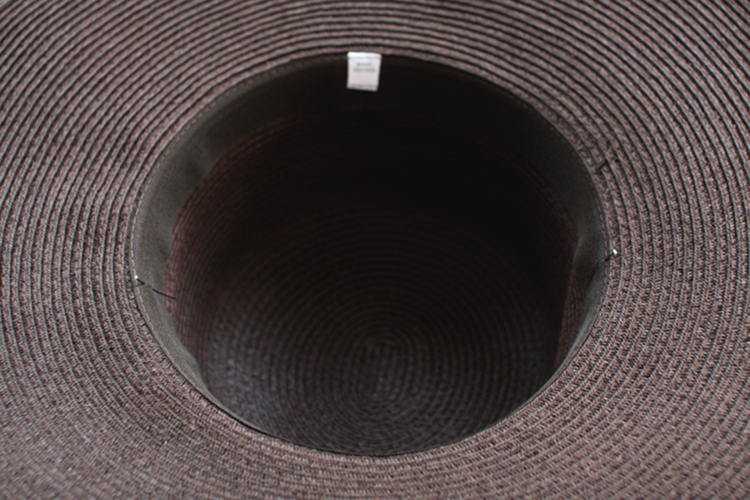
Place the hat on how you will wear it and use pins to mark on the hat the points just in front of your ears. Take the hat off and look at the placement of the pins. Try to line them up evenly on the hat – it can be a bit tricky but it is unlikely your hat is perfectly symetrical but do your best!
Step 2) Prepare Your Ties
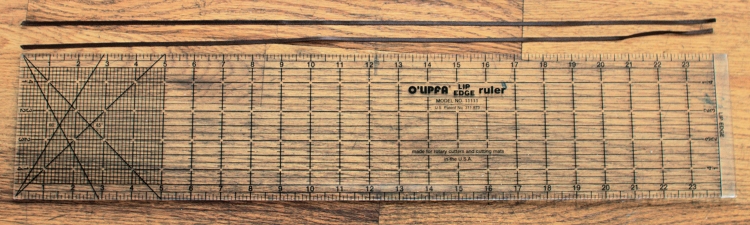
Cut two pieces of ribbon or cord the same length. I cut mine to be 24″ (60cm) long. Finish the ends. If you are working with polyester ribbon, you can use a flame to carefully melt the ends to prevent fraying (if it catches on fire it is easy to blow out), you can use a touch of Fray-Check, or simply tie a small overhand knot near the end. With cord an overhand knot at the end would work well.
Step 3) Attach the Ties
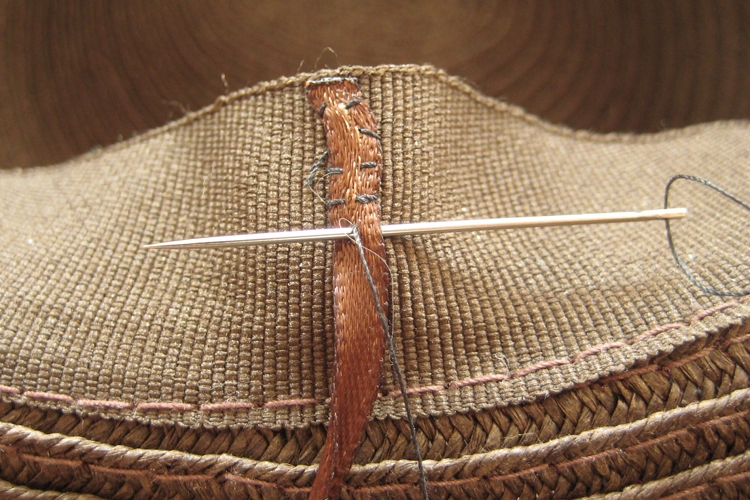
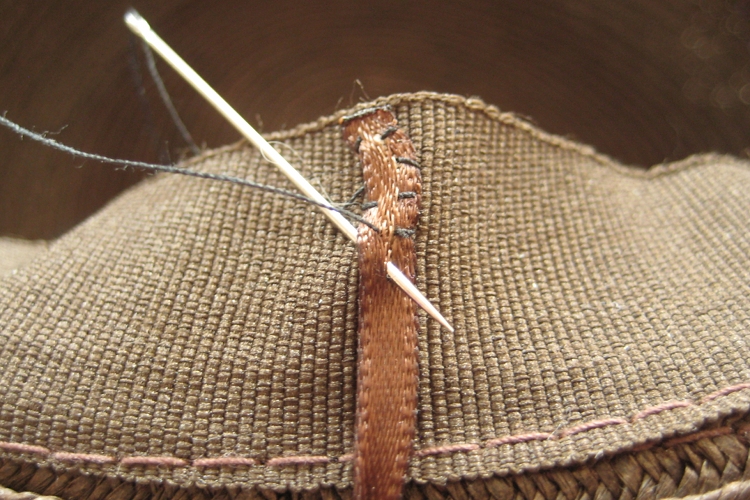
My hat had a grossgrain ribbon inside the brim of the hat that I attached my ribbons to. If your hat doesn’t have a ribbon or lining, it is still possible to attach a tie but you need to take tiny stitches on the outside of the hat so they barely show.
Cute, simple, easy!