One of the more popular categories on this website is braiding and knotting. I know a lot of readers love making braids, and I realized I had never covered the topic of making the same braids you already know, but with different kinds of materials. In this case, I’m making braids with strands of two different weights (the same as I used in the fringe making tutorial.) A simple 5 or 10 strand braid takes on a really great asymmetrical feel when you make it this way.

Supplies:
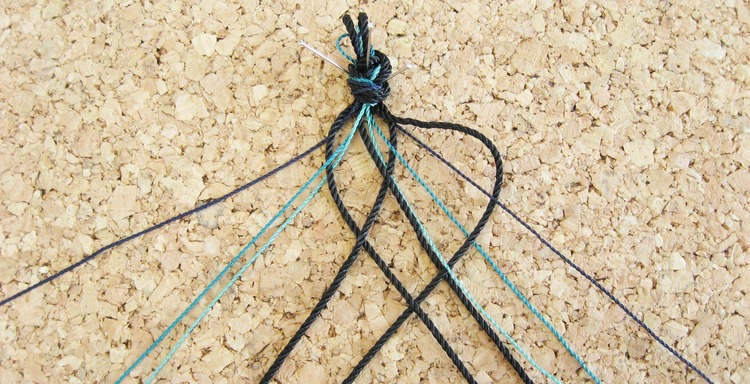
– two different weights of string, yarn, thread, or cord for braiding – this is #2 and #18 nylon
– pins
– cork panels
– scissors
– ruler
How long you cut your strands is up to your project. Based on this example I’d estimate that your strands should be 25% longer than the desired finished length, but if you’re making a really long braid it would probably pay off to swatch it. The weight of your strands will probably have a significant effect on the amount of shrinkage.

To make the five strand braid, use 2 strands of the thick and 3 strands of the thin. Make sure the 2 heavy strands are next to each other.

Starting on the left, take the farthest left strand over and then under. Let it join the strands on the right.

And on the right, take the strand over then under, and let it join the strands on the left.

Over, under.

Over, under. Repeat this over and over to the end. The real trick to this is to periodically stop and adjust the tension. The thinner strands will probably try to be looser than they should be, but it you tighten them up evenly over the length of the braid you’ll have a very neat result.

To make a similar braid with 10 strands, you’ll need 4 of the heavier weight and 6 of the lighter weight strand. Place them as shown, with the heavy strands to the outside.

On the left, go over, under, over, under, then let the working strand join the right.

On the right, go under, over, under, over, under, and let the working strand join those on the left. This is different than before, because this braid has an even number of strands and the one before had an odd number.

On the left – over, under, over, under.
On the right – under, over, under, over, under. Repeat this to the desired length, again being very careful to adjust the tension on the strands.
That’s all. The heavy strands could be replaced with a group of the lighter weight strands held together, or with a very different kind of material. I hope you see how many combinations there are to experiment with!
