How to sew a button well is a useful skill to have whether you sew or not. You never know when a button may fall off a garment or when you may want to refresh a garment with unique buttons. A couple quick tips will ensure the button works well and holds up over time.

Supplies

Thread
Straight Hand Sewing Needle
Scissors
Button
Toothpick/Matchstick (for heavy weight garments like winter coats you may want 2-3 toothpicks)
Threading the Needle
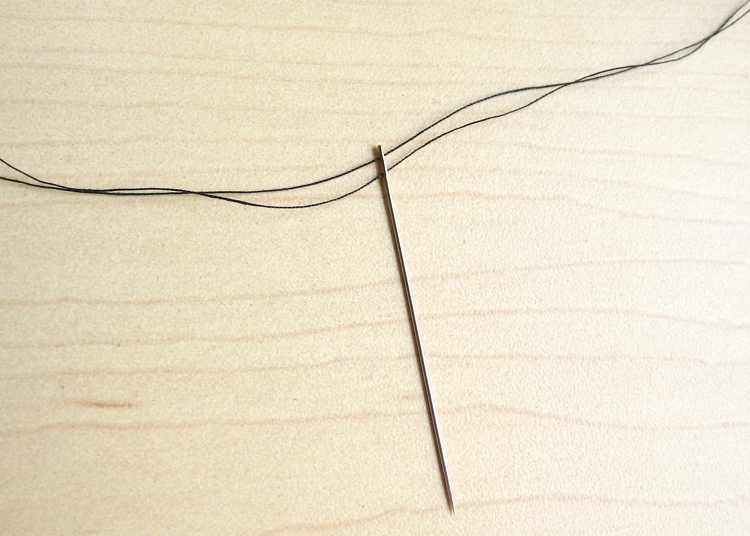
A simple way to make sewing a button easier is to send 2 thread ends through the needle.

When folded back, 4 threads will be placed every time you sew a stitch.
How to Sew A Button

Whether you are adding buttons to something you are making or replacing a button that fell off a garment the first step is to mark the placement of button. I’ve marked a + with blue chalk and I placed a pin through the point of the + to help me find the marks.

Tie an overhand knot at the tails end of your threaded needle holding all 4 threads together. Begin sewing the button on by making 2 small stitches to secure your thread. Make a small X over the marked point for the button. In the gif above I have highlighted the blue chalk lines and indicated the X stitch with white lines.

Bring your thread to the top of the fabric in a position that makes sense for the button. A 2 hole button can be sewn vertically, horizontally, or at a 45 degree angle but make the decision for how you want it to look and be consistent with all the buttons you sew on that garment.
For the 4 hole button I’m sewing, I brought the thread to the front in a way to make an X through the button. Sew through the button and send the needle to the back of the fabric.

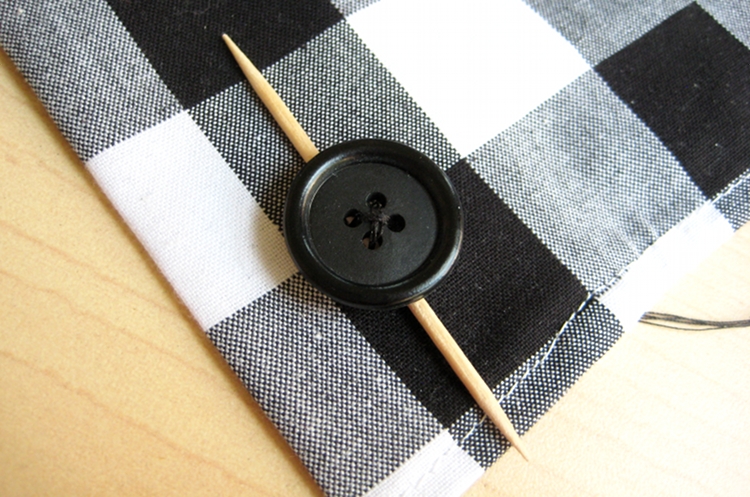
Before pulling the thread taught, place a toothpick or matchstick through the stitch. For heavyweight garments (like winter coats) you may want to use 2-3 toothpicks. The toothpicks holds space between the fabric and the button so there is space for the other side fabric with the button hole to fit between the button and the fabric. If you are sewing on a shank style button (with a loop on the back) don’t use a toothpick.

Pull the thread taught with the toothpick in place.

Bring the thread to the front again to sew through the button again. For the 4 hole button, bring the needle up through the other hole as show above.
Send the needle through the opposite hole and pull the thread taught.

Go through the button again in each direction.

Bring the thread to the front of the fabric behind the button.

Remove the toothpick and wrap the thread around the button threads 3 times. This secures the button threads and holds the button in a good position for use.

Send the thread to the back of the fabric after wrapping the threads.

On the back side of the fabric, tie another overhand knot that is tight against the fabric. Send the needle through the bundle of threads to bury the tails of the knot and cut the thread.
There is your button, sewn on securely and spaced so both sides of the garment sit nicely when buttoned.
-Carly | Antibromide