Chalk paint is a popular choice for painting home furnishings right now, so most of the recipes use latex as a base. I wanted some really, really matte paint for some non-housewares projects so acrylic is a much better base for my needs. After some experimenting with different materials, this is my favorite way to make chalk paint, including a really easy, low mess mixing method. The paint comes out very matte, very opaque for one-coat coverage, and has been low-warp when I tested it on cardstock (like the picture below).


- flat/matte acrylic paint
- plaster of paris
- water
- plastic bottle with a good cap, twice the volume of your acrylic paint is a good size
You can use whatever color of acrylic you want, the paint will usually end up a shade or two lighter than what’s in the tube. I’m expecting to make a lot of lighter shades for small pieces, and I own a lot of paint already (hello, art degree!) so I made a basic white that I’ll tint as needed. If your entire project is going to be one color by all means choose that to start with.
Formula:
1 part plaster of paris (powder)
3 parts acrylic paint

Start by measuring your plaster of paris. My paint is a 2 ounce bottle so I added 4 teaspoons of plaster of paris into this bottle. (Shhh, metric system people. I get it, that sounds ridiculous.)

There it is – the view from above is much clearer than trying to look through the side.

Add water, a few drops at a time, then shake. You’re trying to add just enough water to dissolve all of the plaster, but no more.

See that? It’s a very thick liquid.
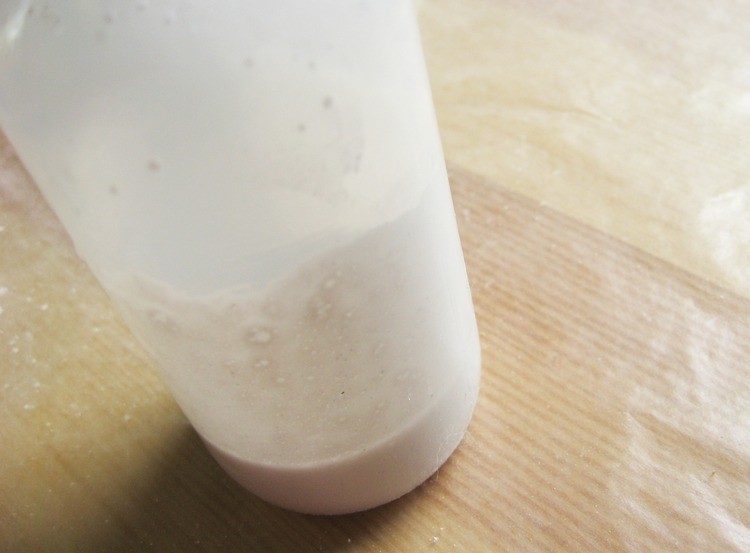
This is another view, just enough water to dissolve. At this moment your plaster is trying to set up. Don’t let it…

Add your paint right now. Pour it all in there, then cap it and shake, shake, shake. Check the sides of the bottle, keep shaking and checking until the color is consistent over all the sides. Then leave it capped and walk away until tomorrow. The consistency improves so much if you let it have some time. You’re really letting the water level become consistent across all the different binders, pigments, and chalks.

After that it’s ready to go. You might need to drip in a little more water if it’s too thick, but otherwise grab a brush and get started.

This toothpick was dipped into an acrylic paint I already had.

Then I mixed it all together. It mixed very quickly.

The blue blended easily into the white, and barely warped the cardstock tag. This paint is really meant to be used on harder things like wood, but I’m definitely using mine for paper now, too.
Keep your paint stored in a cool, dark place where it won’t freeze and it should stay nice for a long time. Shake before using.