Brick stitch is a simple way to make complex beaded pieces with irregular edges. It’s best friends with peyote stitch – the beads align the same way, but brick stitch gives you a lot of options for making unusual pieces or adding extra detail to peyote pieces.

Please, for the love of all things beaded, know peyote stitch before learning brick. It will make it so much easier to learn this.
This tutorial doesn’t make a finished piece – it’s just a variety of useful methods. Do a bit of sample making before starting on a real project, brick stitch is a little finicky.

Supplies and Equipment:
– seed beads – choose round rather than delica style for learning
– beading thread – I love my nymo (size OO in this case) but feel free to use your favorite
– scissors with sharp points
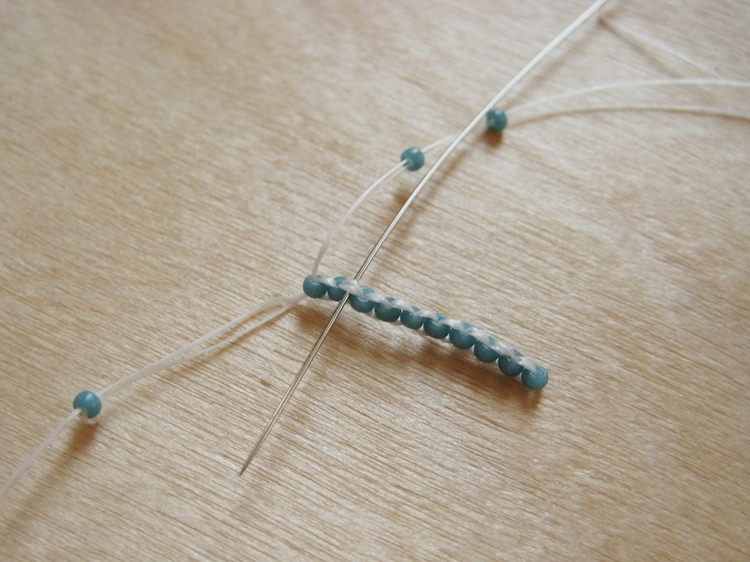
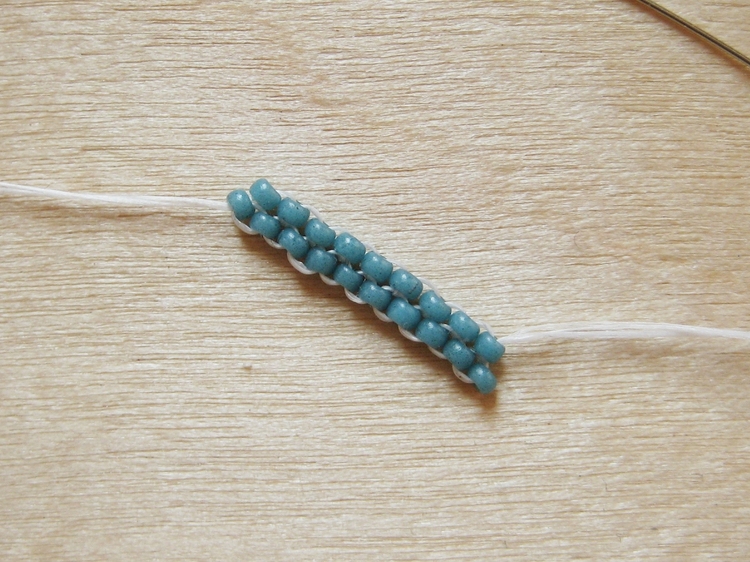
Foundation Row:
When making a patterned piece try to start at the widest part, it’s much easier to decrease than to increase.

Thread the needle, double the thread (or not, if you’d rather) then add a removable temporary bead knot, as shown in this tutorial.
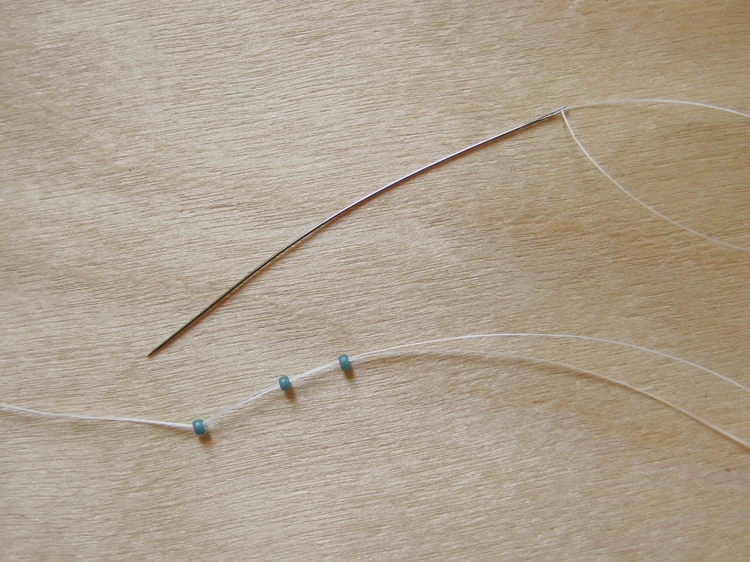
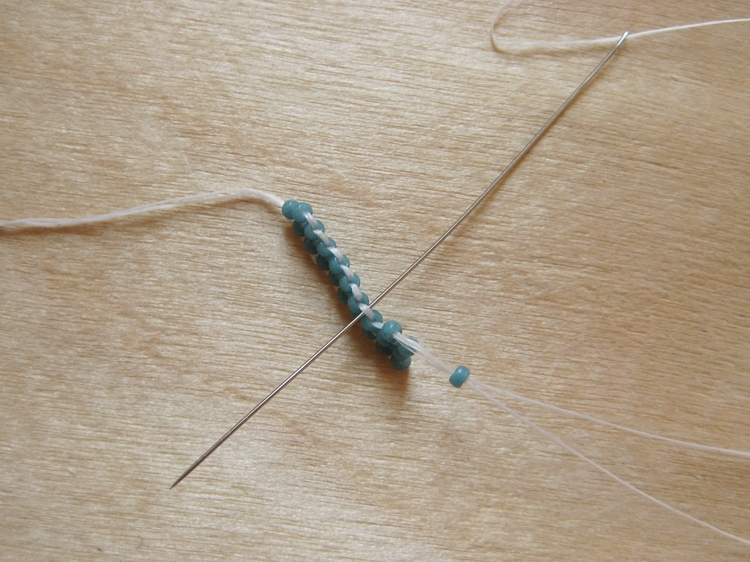
Thread on two beads.
Go through the first bead again the same way.
Pull it up snug.
Go through the second bead again.
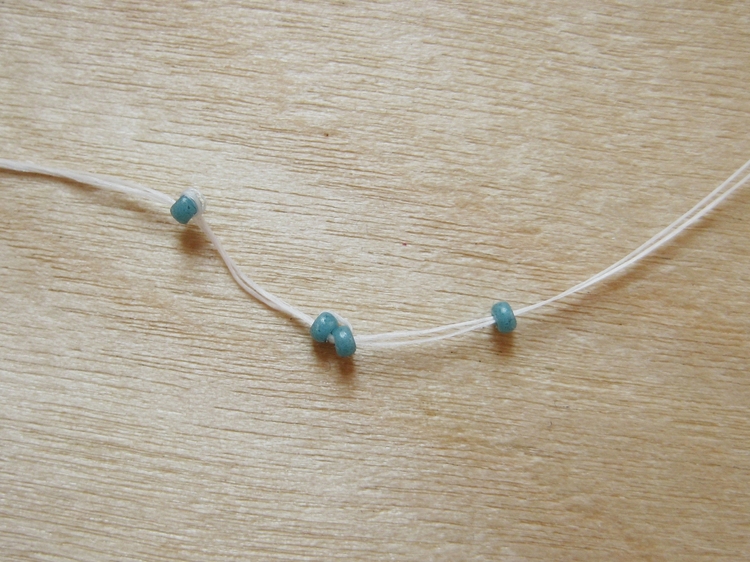
String on another bead.

Go through the second bead again.
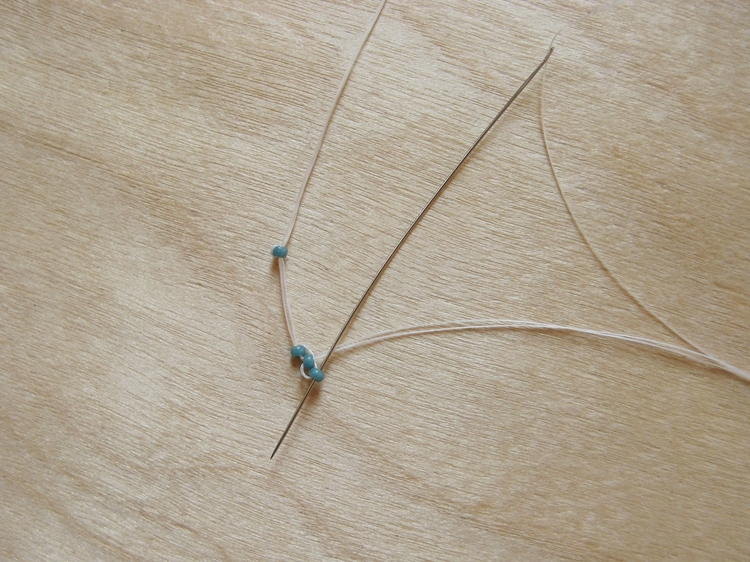
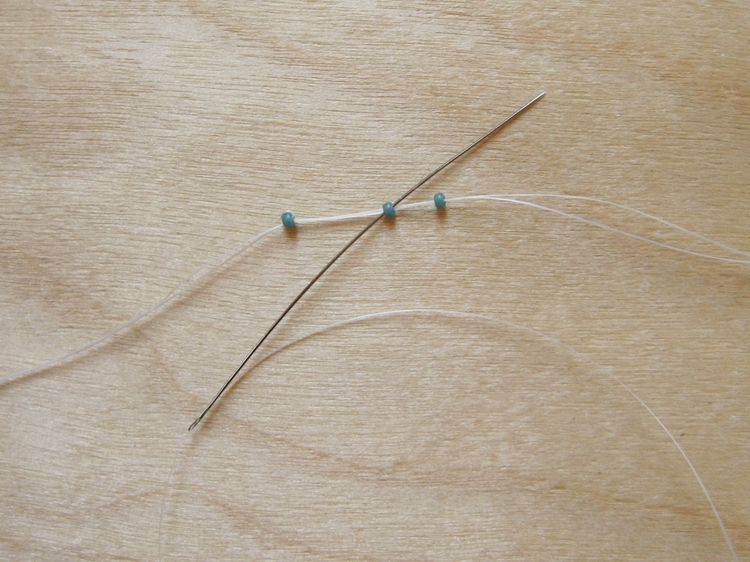
Go through the third bead again. You’re trying to get all of your foundation row beads aligned side by side.

Keep adding beads until your foundation row is as long as the pattern requires (or make it about 10 wide if you’re making a sample.)
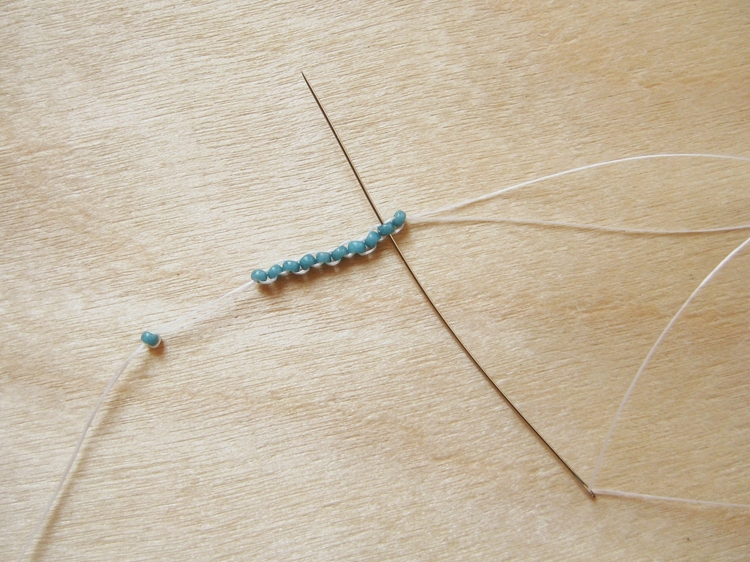
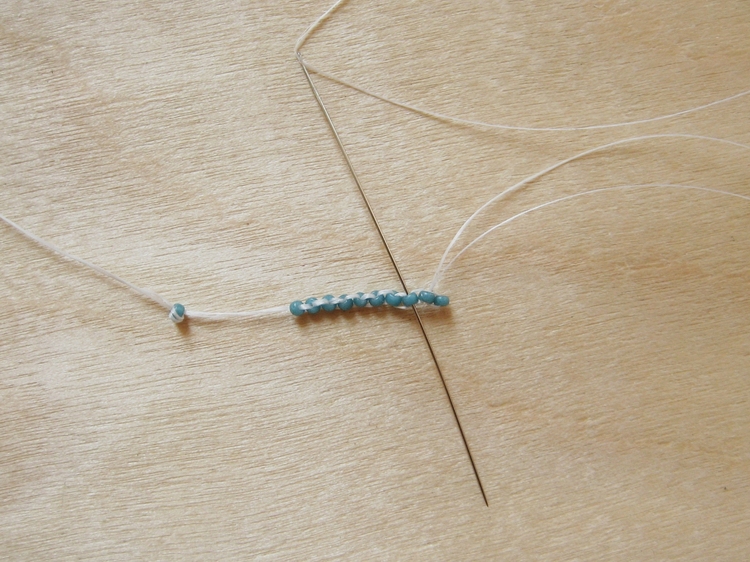
Go back through the foundation row to balance it out.
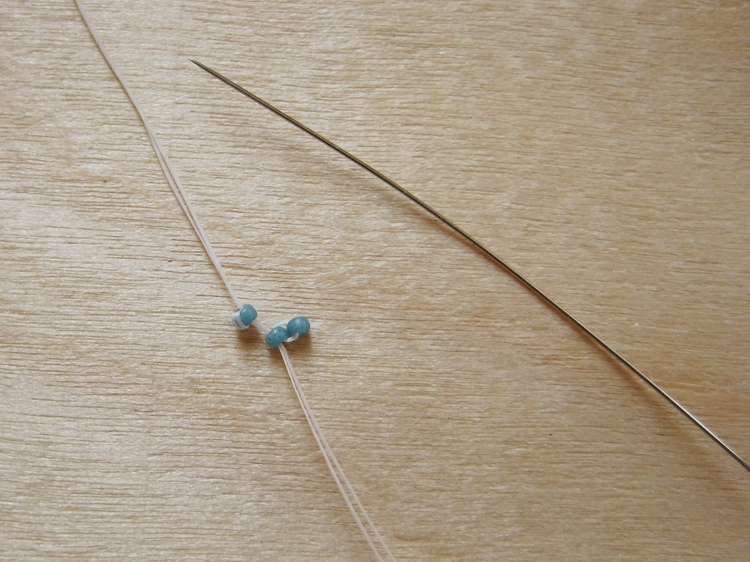
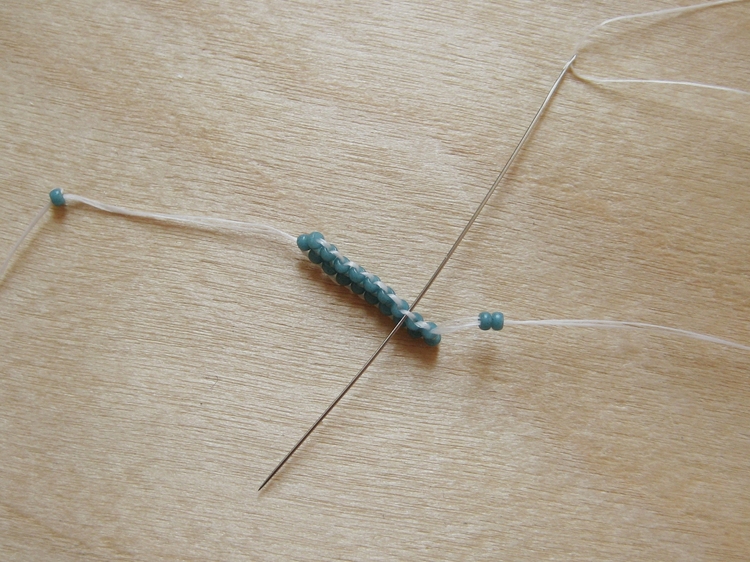
Decreasing at the beginning of a row:

String on two beads.
Slide the needle under the threads between the second and third bead in the foundation row. Try not to split the threads.

Pull all of the thread through.
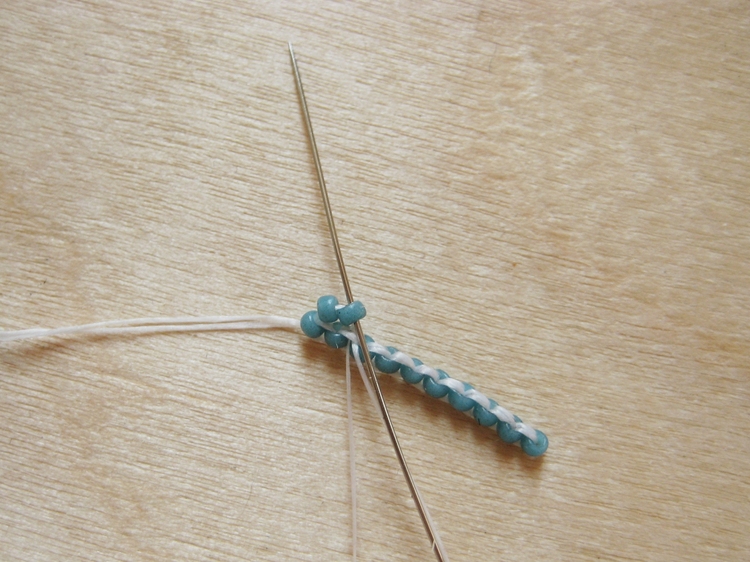
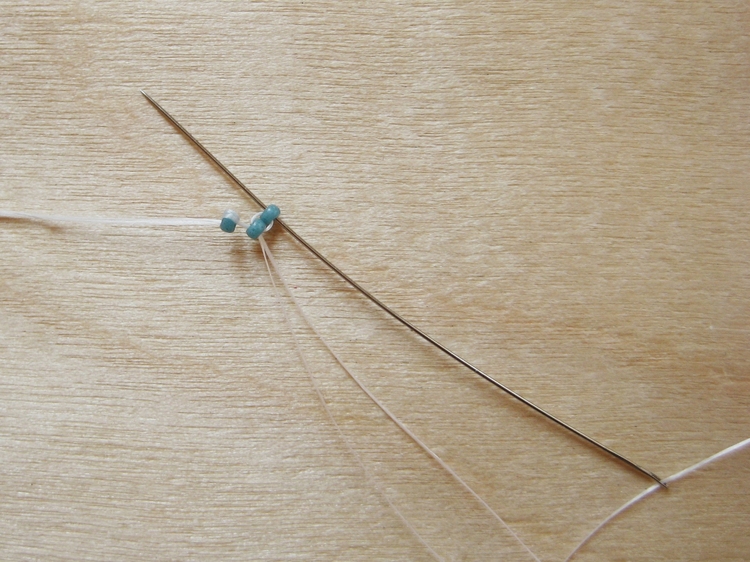
Slide the needle up through the second bead.

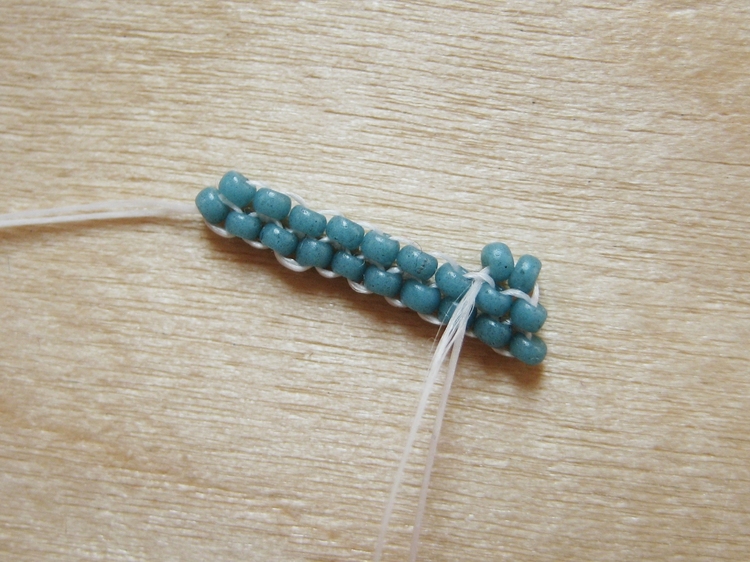
Pull it up snug.
Continue the row:

String on one bead.
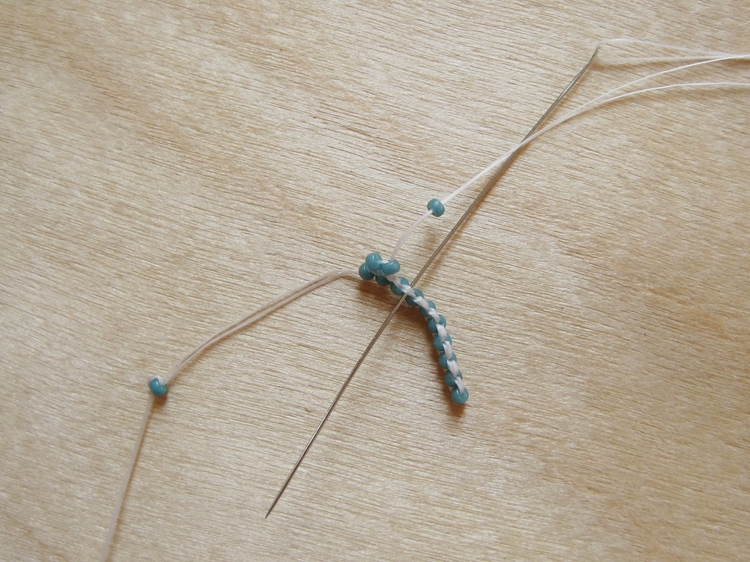
Slide the needle under the next thread gap.
Pull it up.

Slide the needle through the bead.

Keep adding beads this same way until you run out of thread gaps.
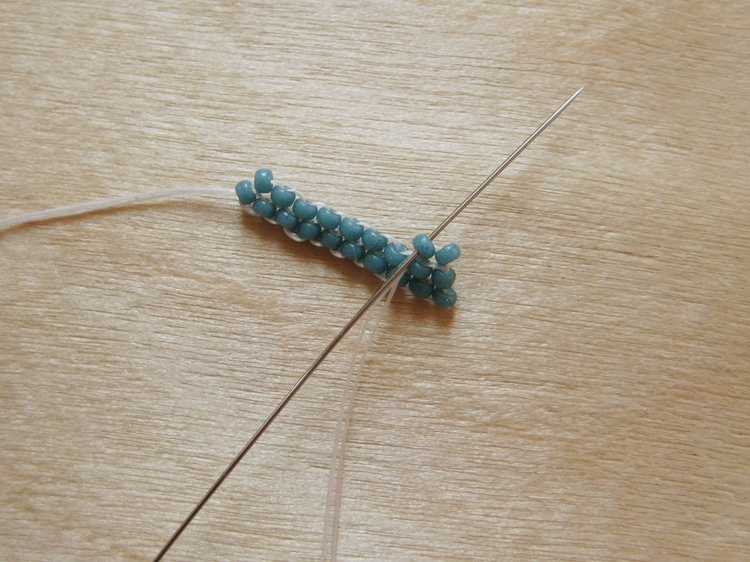
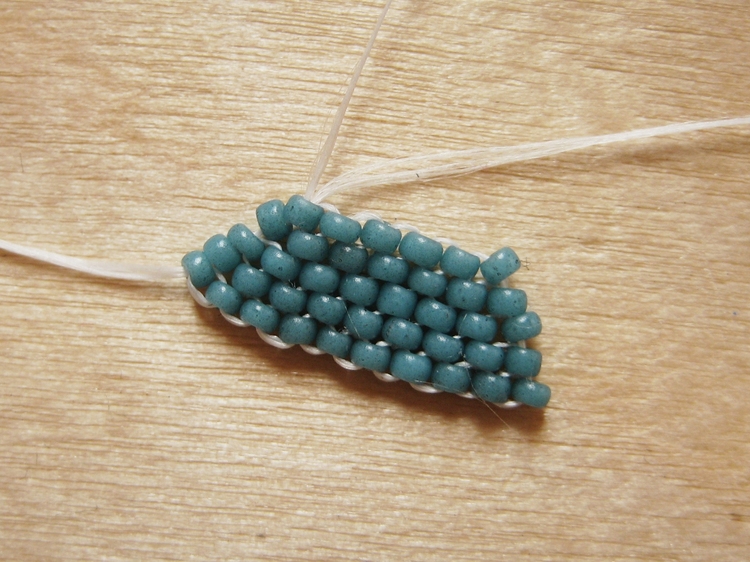
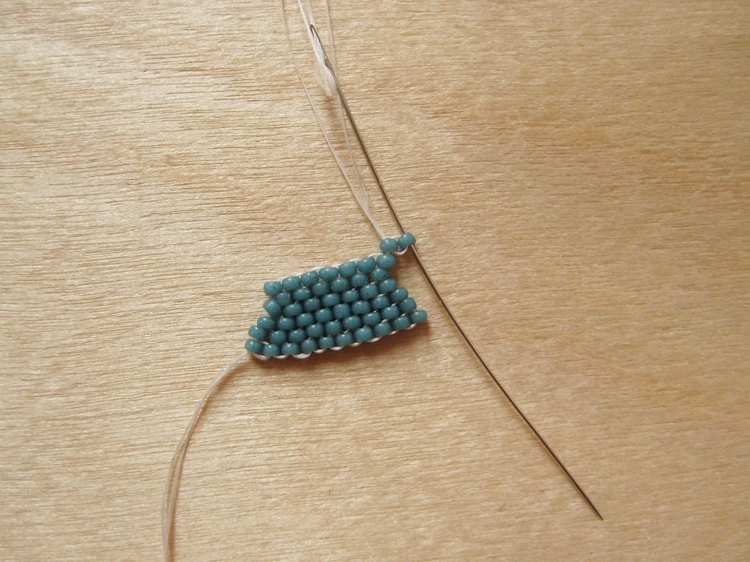
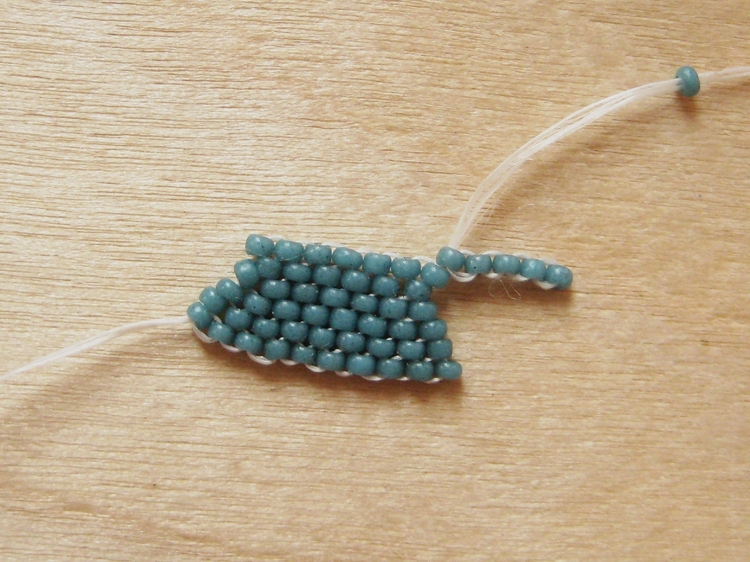
Decreasing at the end of the row:
To decrease at the end of the row just start on the next row now.
Continue adding rows, if you’re decreasing each row start with two beads then thread through between the second and third bead of the previous row.


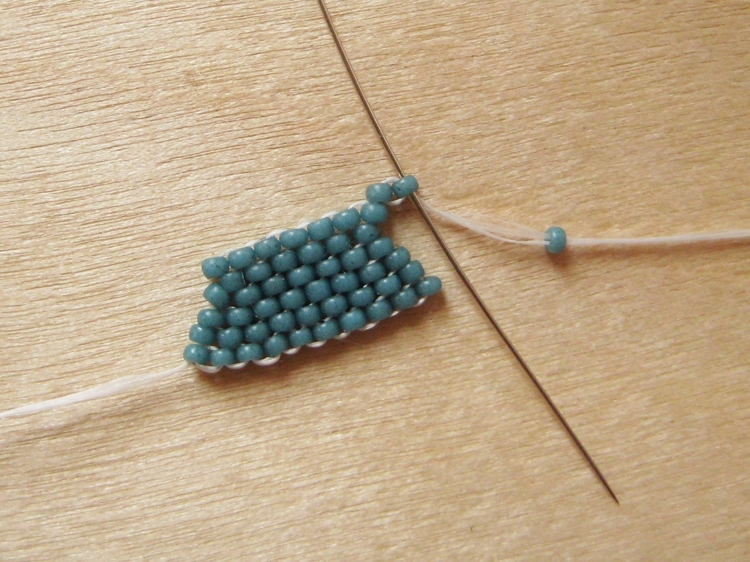
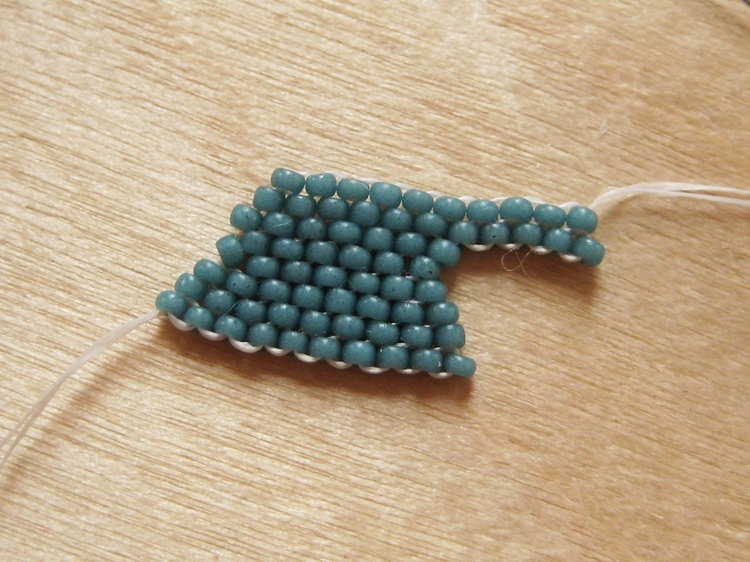
Increase one bead at the beginning of the row:

Thread on two beads.

Slide the needle under the threads between the first and second bead in the last row.

Pull up, then stitch up through the second bead.
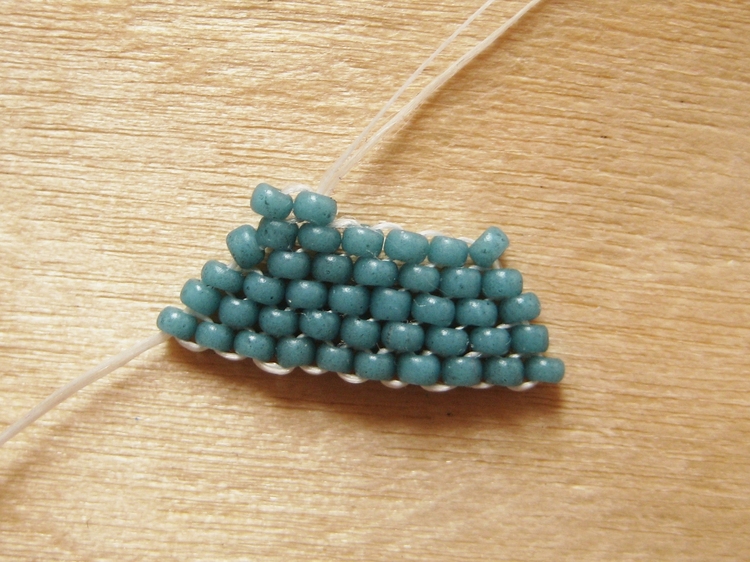
This results in a single bead increase at the beginning of the row. Continue the rest of the row as usual.
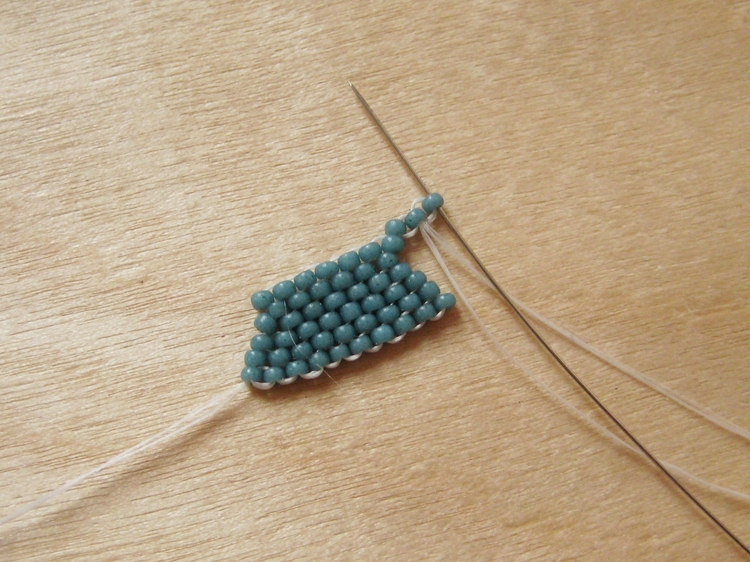
Increase one bead at the end of the row:
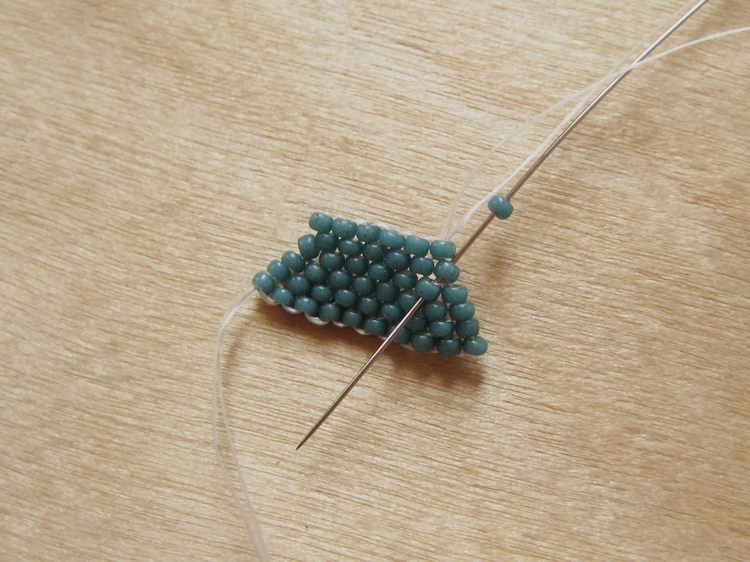
Work to the end of the row (through the last thread gap.) Add another bead, then go through the last bead from the previous row, and the bead diagonally below it.

Go up through the bead next to it.

Then up through the last bead of the previous row, and the bead you just added.

Now you’re ready to go for your next row.
*In a real project (not a practice sample) it’s best to do this on the back of the work. It’s hard to completely conceal threads in brick stitch, so if they show it’s best if they show on the back.
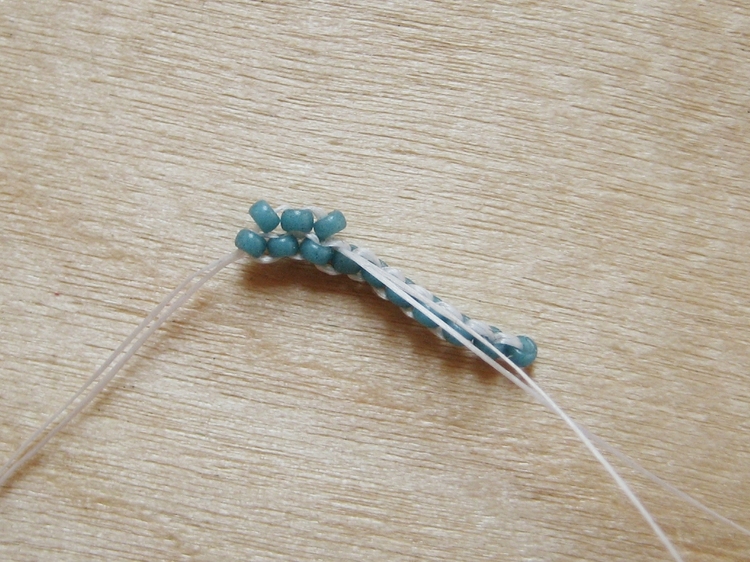
Increase more than one bead:

This increase will be a part of a new row, not the current row. String on two beads.

Go through the first bead, as you did with your foundation row.
Go through the second bead.
Add a bead, go through the previous bead again.
Go through the third bead again. Continue for as many beads as the increase row requires.
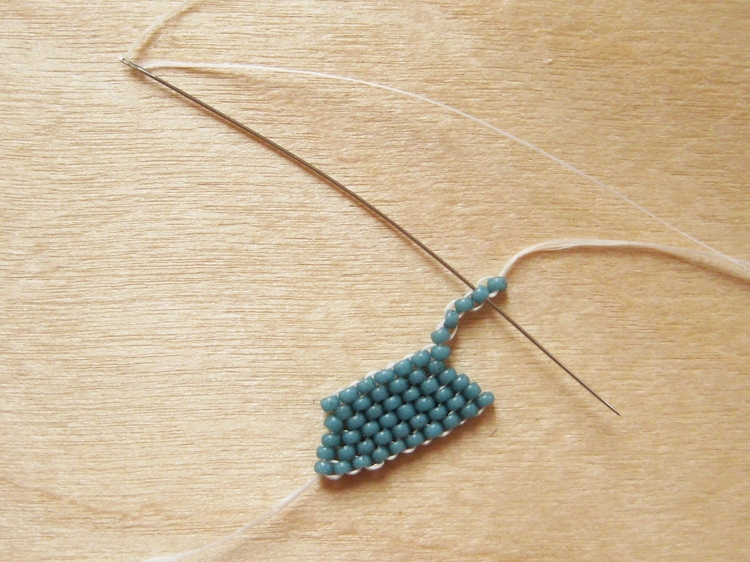
Stitch back through the increase beads, as you did with the foundation row.

You’re now ready to continue with the row as usual.
To end your thread:
Weave it into the piece. Consider gravity when you do this – don’t weave your threads so they’ll be “up” when you’re wearing it.
To add a new thread:
Weave in the end of the old thread, weave in the beginning of the new thread.
To hide threads that show:
Use the same trick as with the peyote rings – a bit of colored sharpie on thread gaps can go a long way.
That’s it – the basics of brick stitch. It’s great for crazy shapes because of the way it’s worked, but it’s slower and less sturdy than peyote so it should be your second choice. Depending on your pattern the foundation row could be replaced with a strip of peyote, or you could add some brick stitch to the edge of a peyote piece (kind of the way they add some extra pieces to the top of billboard so the design can break out of the rectangular shape.) Try to keep your extra thread work on the back if your piece has a front and back, and always try to work from widest to narrowest in your pattern. Good luck!