Make the part of your shoes that separates your feet from the ground!
This series includes:
Part 1 – Intro & Supplies
Part 2 – Making a Pattern
Part 3 – Making a Test Shoe
Part 4 – Making an Insole
Part 5 – Gluing an Upper to an Insole
Part 6 – Making a Shoe Sole
Part 7 – Making a Minimalist Style Upper

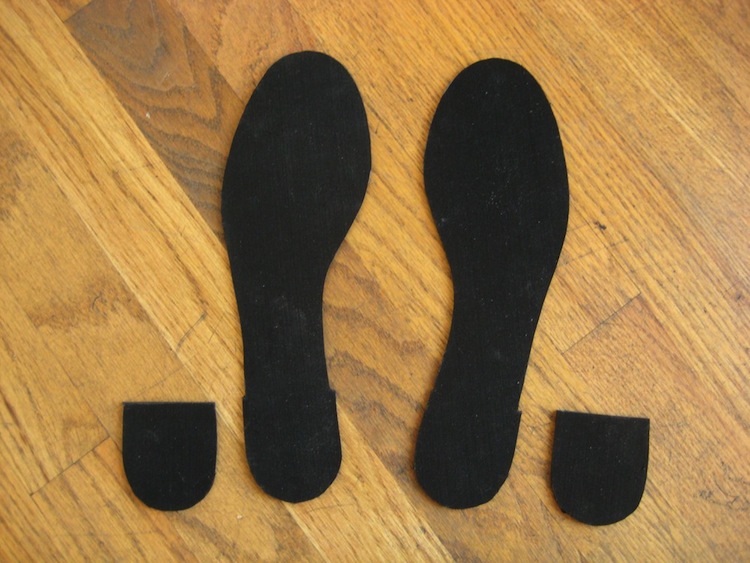
Trace the sole and heel block pieces onto the rubber, making sure to cut a pair. Tailor’s chalk works well on the rubber I’ve been using, you may have to experiment to find something that makes clear marks.
Place the rubber over a cutting surface.

Cut the rubber out with an exacto or utility knife. Keep the blade very vertical and try to make long, smooth cuts.

Score the heel area of the sole and the heel block. Skip the heel block steps if your shoes don’t have them!
Glue the block to the sole with the E-6000 or barge cement.
Sand or trim any unattractive edges.
Align the sole how it should be place on the bottom of the otherwise finished shoe.

Mark it’s location – this mark will show so use something that comes off or blends in.
Apply glue to the entire sole and shoe bottom, making sure to extend the glue all the way to the edge of the sole and gluing area. If using E-6000 apply the sole to the shoe immediately. If using Barge Cement wait for the glue to dry until tacky – about 15 minutes – and stick the sole to the shoe. You only get one chance to align this properly so use great care to do so.

After the glue has dried pull at the edges of the sole and use toothpick to touch glue into any areas that aren’t completely sealed. I use small spring clamps to make sure my glue bond is secure when touching up the edges.
Previously:
Part 1 – Intro & Supplies
Part 2 – Making a Pattern
Part 3 – Making a Test Shoe
Part 4 – Making an Insole
Part 5 – Gluing an Upper to an Insole